If you’re still guessing your progress, you’re leaving gains on the table.
This free Push Pull Legs template spreadsheet is the opposite: ready-to-use, tracks sets, reps, weight, and calculates tonnage (sets × reps × weight) automatically.
It has separate Push, Pull, and Legs tabs, an exercise swap list, weekly progression fields, and a print-friendly layout for the gym.
Download it, print a page, and log workouts instead of relying on memory.
In this post I’ll show how to use the sheet, set starting weights, and make steady weekly progress without overthinking it.
Download Your Free Push‑Pull‑Legs Workout Spreadsheet (Excel & Google Sheets)

[Download Excel Template – .xlsx]
[Download Google Sheets Template – Make a Copy]
This free push‑pull‑legs spreadsheet gives you everything you need to track workouts, log tonnage, and measure progress across 3–6 training days per week. No setup required. Open the file, enter your weights, and start tracking.
The template includes:
Separate tabs for Push, Pull, and Legs workouts. Each day comes pre‑loaded with common exercises plus blank rows for custom additions.
Automatic volume and tonnage calculations. Formulas are built in to show sets × reps × weight per exercise and total session load.
Weekly progression fields. Track 8–12 weeks of training with columns for date, weight lifted, reps completed, and RPE.
Exercise substitution library. A reference tab listing 40+ alternatives for home gyms, injuries, or personal preference.
Print‑friendly layout. Formatted for A4 or Letter paper, landscape or portrait, with repeated headers and clean gridlines for gym use.
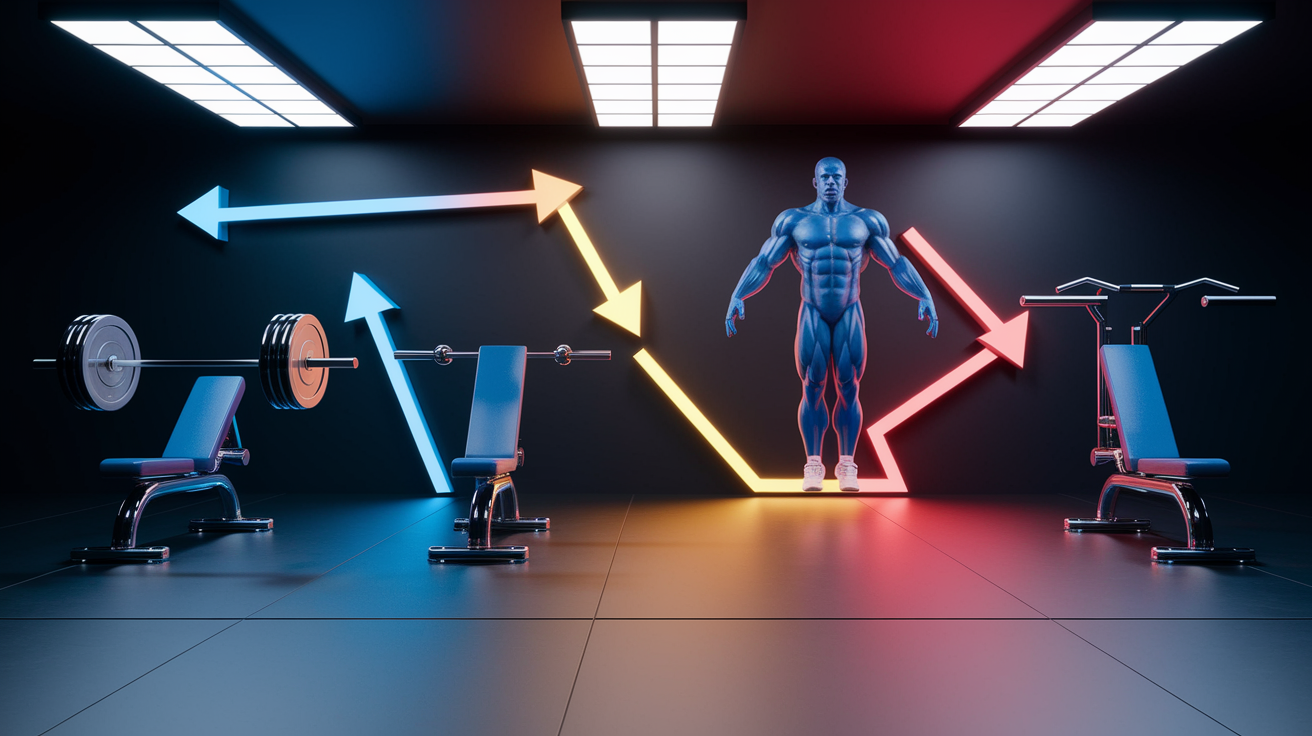
Overview of the Push‑Pull‑Legs Training Method

Push‑pull‑legs divides your weekly training into three distinct movement patterns. Push days target muscles that press weight away from your body. Pull days work muscles that draw weight toward you. Legs days cover everything below the waist.
Each session hits multiple muscle groups with compound and isolation lifts. This lets you spread volume evenly and gives similar movements enough recovery time between sessions.
You can run PPL as a 3‑day cycle (once through the rotation per week) or a 6‑day cycle (repeat the sequence twice per week). The 3‑day version works well for beginners or anyone with limited time. The 6‑day setup offers higher weekly frequency, training each muscle group twice and creating a stronger hypertrophy stimulus for intermediate and advanced lifters.
Primary muscle groups per split:
Push covers chest (pectorals), front and side shoulders (anterior and lateral deltoids), triceps.
Pull covers upper back (trapezius, rhomboids), lats (latissimus dorsi), rear shoulders (posterior deltoids), biceps.
Legs covers quadriceps, hamstrings, glutes, calves, hip adductors and abductors.
Benefits and Drawbacks of a Push‑Pull‑Legs Program
Pros:
Balanced volume across all major muscle groups. No muscle is overworked or neglected.
Flexible scheduling. Scale from 3 to 6 days depending on your week.
Clear progression path. Track push, pull, and leg lifts independently and add load when you hit the top of your rep range.
Efficient recovery. Opposing muscle groups rest while you train others, reducing systemic fatigue.
Easy substitution. Swap an exercise without disrupting the overall structure.
Supports both strength and hypertrophy goals. Adjust rep ranges and intensity to fit your priority.
Cons:
You need consistent attendance. Skipping a day disrupts the rotation and delays hitting each muscle group again.
Higher weekly time commitment, especially for 6‑day versions. Each session runs 45–75 minutes.
Can feel repetitive. You’re cycling through the same three workouts every week or twice per week.
Volume can accumulate quickly. Beginners may struggle with fatigue if they start with too many sets.
Less suitable for pure powerlifting peaking. Frequency and exercise variety favor hypertrophy over maximal‑strength specialization.
You’ll need access to equipment. Barbells, dumbbells, cables, and machines make the program easier. Home setups may need creative substitutions.
Breakdown of Push Day Exercises

Push day workouts train the chest, shoulders, and triceps using pressing movements and isolation work. The session typically opens with a heavy compound lift (flat or incline barbell bench press, overhead press) to build strength, then adds dumbbell presses or machine variations to accumulate volume.
Isolation exercises like lateral raises and triceps extensions finish the workout. These target smaller muscles and add detail without extra systemic fatigue.
Compound lifts recruit multiple joints and muscle groups at once, making them the backbone of your push day tonnage. Isolation lifts work a single joint and let you add volume to a specific muscle without overwhelming your central nervous system or recovery capacity.
Common push day exercises:
Flat barbell bench press
Incline dumbbell press
Overhead press (barbell or dumbbell)
Dips (chest‑focused or triceps‑focused)
Dumbbell flyes or cable crossovers
Lateral raises (dumbbells or cables)
Front raises
Triceps rope pushdowns or overhead extensions
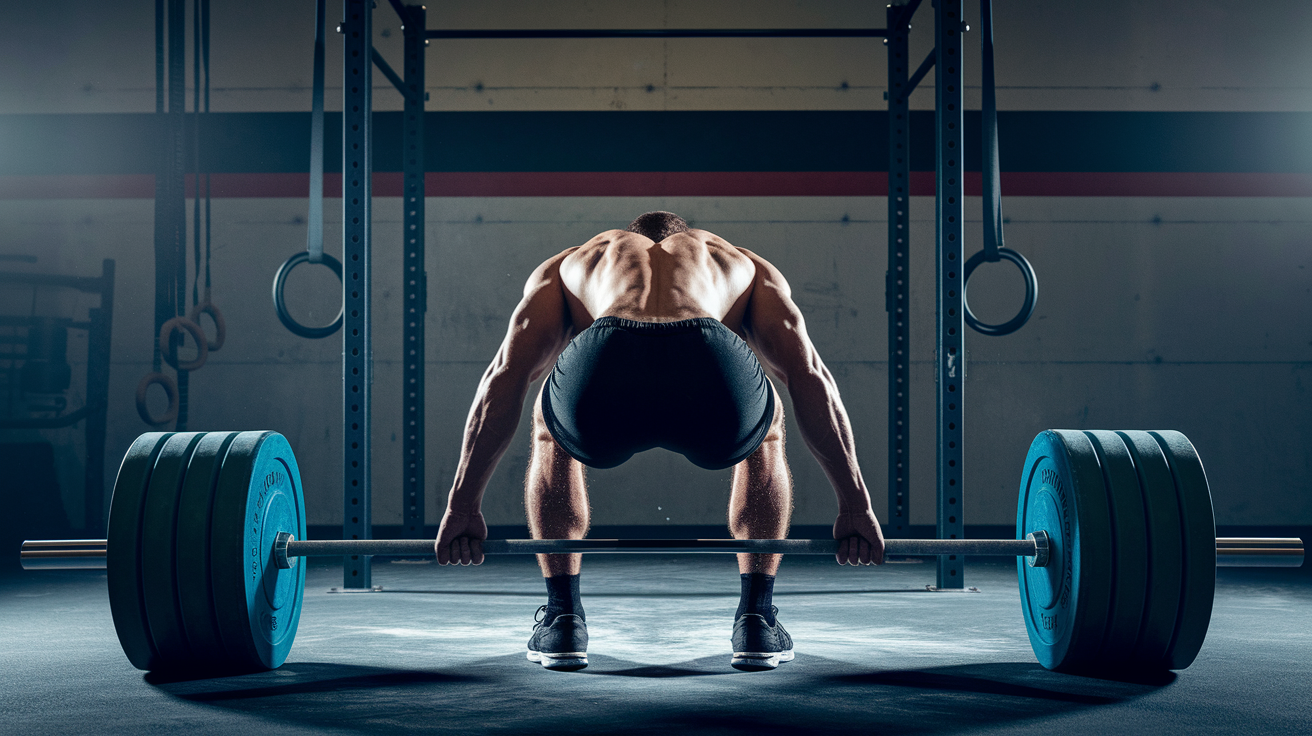
Breakdown of Pull Day Exercises

Pull day sessions target the back, rear delts, and biceps through rowing, pulling, and curling movements. Deadlifts or Romanian deadlifts often anchor the workout, building posterior‑chain strength and total‑body stability.
Horizontal rows (barbell, cable, T‑bar) and vertical pulls (pull‑ups, lat pulldowns) follow, hitting the upper back and lats from multiple angles. Face pulls and rear delt flyes add volume for the often‑underdeveloped posterior shoulder.
Biceps curls close the session, isolating the elbow flexors after the compound work has fatigued the forearms and grip.
Common pull day exercises:
Conventional or sumo deadlift
Barbell bent‑over row
Cable or machine row (seated or chest‑supported)
Pull‑ups or lat pulldowns
T‑bar rows
Face pulls
Rear delt dumbbell flyes
Barbell or dumbbell curls
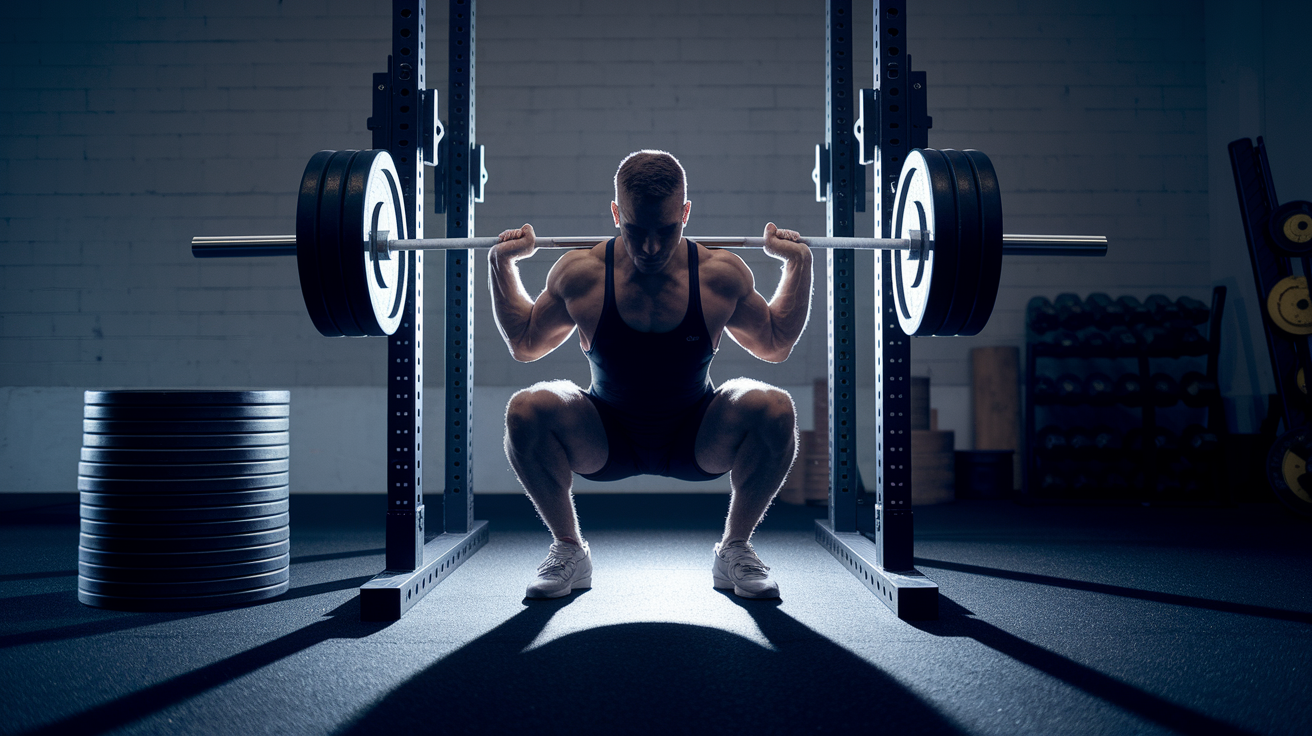
Breakdown of Legs Day Exercises

Legs day covers the quads, hamstrings, glutes, and calves using squat variations, hinge patterns, and single‑leg or isolation movements.
Back squats or front squats lead the session, delivering high mechanical tension across the entire lower body. Romanian deadlifts or leg curls follow to isolate the hamstrings. Leg press, lunges, or Bulgarian split squats add quad and glute volume without the same spinal load as barbell squats. Calf raises finish the workout, targeting the often‑neglected lower leg.
Common legs day exercises:
Back squat (high bar or low bar)
Front squat or goblet squat
Romanian deadlift or stiff‑leg deadlift
Leg press
Walking lunges or reverse lunges
Bulgarian split squats
Leg extensions
Hamstring curls (lying or seated)
How to Use the Push‑Pull‑Legs Spreadsheet Template
This spreadsheet is designed to be simple. You don’t need to understand formulas or set up macros. Open the file, pick your starting weights, log your sets and reps, and let the sheet calculate your weekly tonnage and progression automatically.
How to Enter Your Starting Weights
Open the Push, Pull, or Legs tab depending on which workout you’re logging.
Column A is for the date. Column B lists the exercise name. Column C is for any variation (incline bench, sumo deadlift, etc.). Columns D, E, and F are Sets, Reps, and Weight.
Column G is RPE (Rate of Perceived Exertion, scale 1–10), and column H auto‑calculates volume per exercise using the formula Sets × Reps × Weight. Column I is for notes. Log how the set felt, equipment used, or any tweaks you made.
Start conservatively. If you’re not sure of your working weight, use a load that leaves 2–3 reps in the tank on your final set. You’ll add weight next week once you confirm you can hit the top of the programmed rep range.
How to Track Weekly Progression
The spreadsheet includes a progression grid at the bottom of each tab. This grid spans 12 weeks, with one column per week. Each row represents one exercise.
After you finish a session, update the weight or reps in the next week’s column. The sheet highlights any increase in green and any decrease or stall in red using conditional formatting.
Try to add 2.5–5 pounds to upper‑body lifts and 5–10 pounds to lower‑body lifts each week, as long as you complete all programmed reps. If you stall for two consecutive weeks, add one rep per set instead of increasing weight, or drop the weight by 10 percent and rebuild with better form.
How to Print or Export the Template
The template is pre‑formatted for printing. Each Push, Pull, and Legs tab fits on one or two pages in landscape orientation.
Open File → Print (or File → Download → PDF in Google Sheets) and confirm the print area covers all filled rows. Headers repeat on every page, so you’ll see exercise names and column labels at the top of each sheet.
For gym use, print each day’s tab separately and clip it to a clipboard or slide it into a plastic sleeve. Bring a pen to log sets in real time. At the end of the week, transfer your handwritten numbers back into the digital file to keep your progression grid current and sync your tonnage calculations.
Exercise Substitutions and Progression Strategies
Not every gym has the same equipment. Injuries, mobility limits, or personal preference may require swapping one movement for another.
The Exercise Library tab in the spreadsheet lists 40+ alternatives, but here are the most common substitutions:
Push substitutions:
Flat barbell bench → dumbbell bench press, push‑ups (add weight vest or bands)
Incline barbell bench → incline dumbbell press, landmine press
Overhead press → seated dumbbell press, Arnold press
Dips → close‑grip bench press, machine chest press
Lateral raises → cable lateral raises, upright rows (use light weight and controlled tempo)
Triceps pushdowns → overhead dumbbell extensions, close‑grip push‑ups
Pull substitutions:
Barbell deadlift → trap bar deadlift, Romanian deadlift, rack pulls
Barbell row → dumbbell rows, cable rows, T‑bar rows
Pull‑ups → lat pulldowns, assisted pull‑ups, inverted rows
Face pulls → reverse pec deck, band pull‑aparts
Barbell curls → dumbbell curls, hammer curls, cable curls
Shrugs → farmer’s walks, rack pulls above the knee
Leg substitutions:
Back squat → front squat, goblet squat, hack squat machine
Romanian deadlift → stiff‑leg deadlift, single‑leg RDL, glute‑ham raise
Leg press → hack squat, Bulgarian split squats, walking lunges
Leg extensions → sissy squats, single‑leg extensions, step‑ups
Hamstring curls → Swiss ball curls, Nordic curls, glute‑ham raises
Calf raises → seated calf raises, single‑leg calf raises, jump rope
Progression is simple: when you complete all sets at the top of your target rep range with good form, add weight next session.
If you programmed 3 sets of 8–10 reps and you hit 3×10 this week, increase the load by 2.5–5 pounds for upper body or 5–10 pounds for lower body. If you only hit 3×8, repeat the same weight next week and go for 3×9.
If you stall at the same reps for two weeks in a row, add one extra set to the exercise or increase reps by one per set before adding load. This keeps you progressing without overshooting your recovery capacity.
Final Words
Open the downloads and log your first session.
This post supplied a ready-to-use PPL spreadsheet (Excel + Google Sheets), explained the push/pull/legs split, listed exercises for each day, and gave substitutions and progression tips.
Use the how-to section to enter starting weights, track weekly progression, and export a print-friendly sheet for the gym.
Grab the push pull legs template spreadsheet printable, print a copy, and track sets, reps, and load each week. Small, steady progress wins.
FAQ
Q: What is a Push‑Pull‑Legs spreadsheet template?
A: The Push‑Pull‑Legs spreadsheet template is a downloadable Excel or Google Sheets file that tracks sets, reps, weights, weekly volume, progression, exercise substitutions, and includes a print‑friendly layout.
Q: Where can I download the Excel and Google Sheets templates?
A: You can download the Excel and Google Sheets templates from the two direct links under the “Download Your Free Push‑Pull‑Legs Workout Spreadsheet” header in the article for instant access.
Q: What features does the PPL workout spreadsheet include?
A: The PPL workout spreadsheet includes a weekly workout layout, a volume tracker, progression fields, an exercise substitution list, notes, and a print‑friendly format for easy logging.
Q: How do I enter my starting weights in the spreadsheet?
A: To enter starting weights, log the load beside each exercise, record reps and RPE (rate of perceived exertion) in the same row, and save that first session as your baseline.
Q: How do I track weekly progression using the template?
A: To track weekly progression, fill the weekly columns, let the sheet sum volume, add small weight or rep increases when you hit top reps, and compare week‑to‑week totals.
Q: How do I print or export the PPL template to PDF?
A: To print or export the template, switch to a print‑friendly page setup, adjust margins or hide notes, then print or use Export/Download as PDF from Excel or Google Sheets.
Q: How often should I run PPL — three days or six days a week?
A: You should run PPL three days per week for balanced recovery, or six days for higher frequency and volume — pick what your schedule and recovery allow.
Q: Is Push‑Pull‑Legs suitable for beginners?
A: Push‑Pull‑Legs can suit beginners if you start with three weekly sessions, keep volume low, prioritize form, and increase frequency only after consistent progress and confident technique.
Q: What are core push, pull, and leg exercises to include?
A: Core push exercises are bench press, overhead press, and dips; core pull exercises are rows, pull‑ups, and deadlifts; core leg exercises are squats, lunges, and Romanian deadlifts.
Q: How do I substitute exercises when equipment or injuries limit options?
A: When equipment or injury limits you, substitute movements that match the same pattern and intensity—for example, dumbbell bench for barbell, band rows for cables, or split squats for heavy squats.
Q: How should I progress long‑term on a PPL program?
A: Long‑term progression on PPL means adding small load increments, then reps or sets as needed, aiming to leave 1–2 reps in the tank and tracking volume increases week to week.