Think you need a garage full of machines to get strong? Think again.
This post strips the hype and shows the few versatile tools that let you squat, hinge, push, pull, and carry, without clutter, big bills, or wasted space.
With adjustable dumbbells, resistance bands, a sturdy bench, a mat, and an optional jump rope, you can build a progressive home program that fits in a closet and keeps getting harder as you improve.
The Core Minimal Effective Equipment List for Strength Training at Home
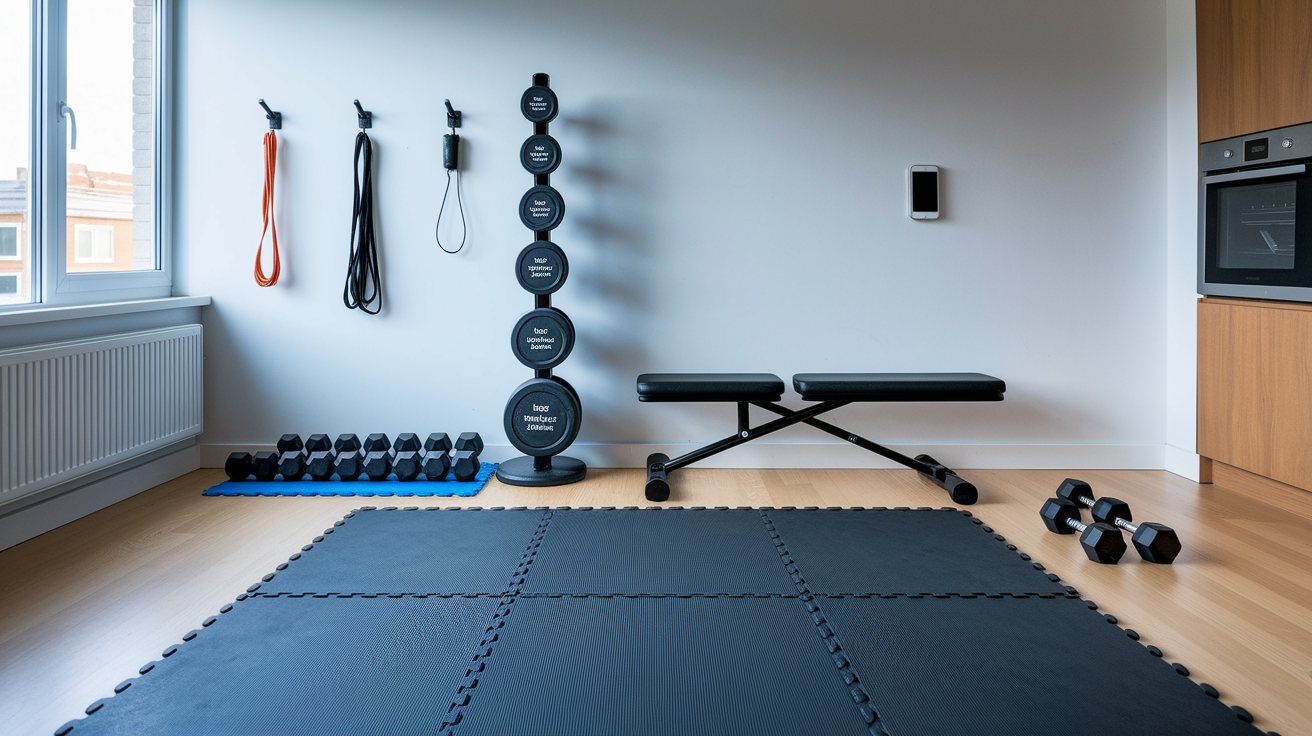
Most people think an effective strength program needs a garage packed with equipment. Not true. You can make serious progress with a handful of versatile tools that fit in a closet.
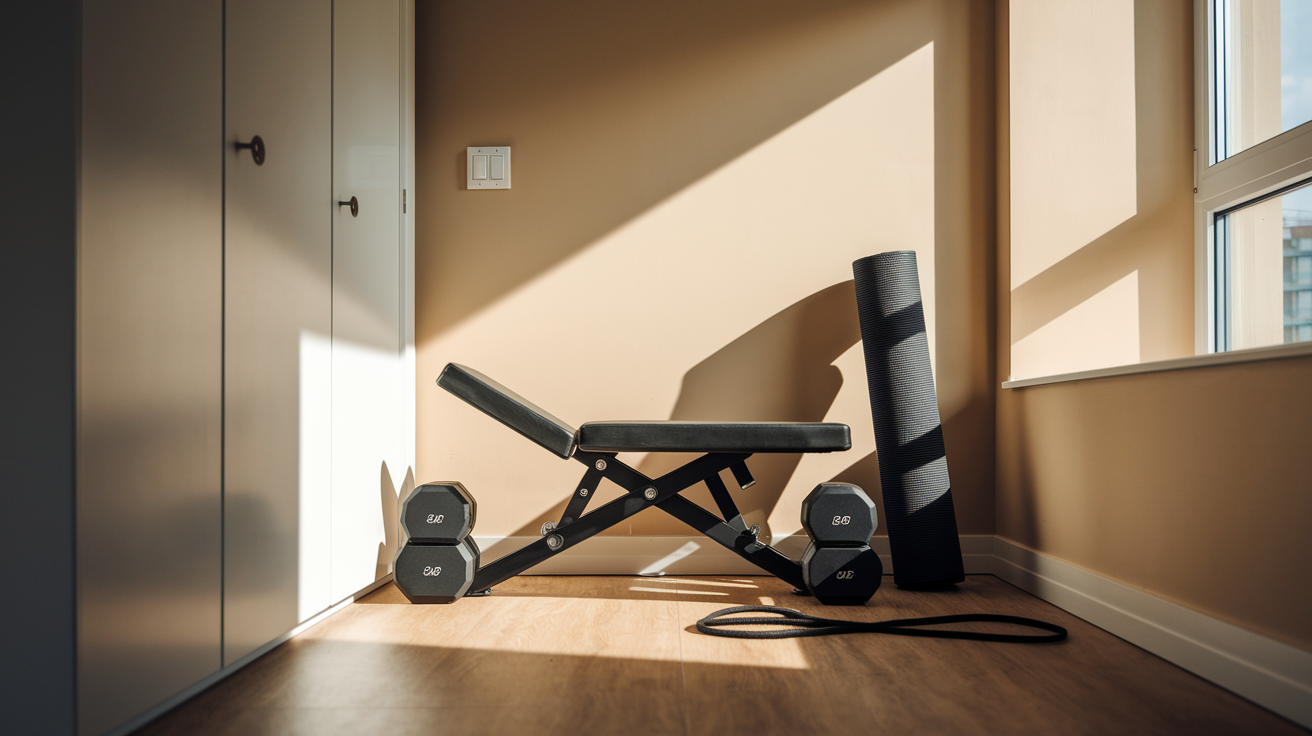
Adjustable dumbbells are the single most useful piece you’ll own. A set that adjusts from 5 to 50 lb covers everything from warm-up isolation work to heavy goblet squats. Budget roughly $150 to $600 depending on brand and max weight. Footprint when stored: about 2 to 3 square feet. Examples include dial-a-weight models or sets with quick-change pins.
Resistance bands fill gaps in your load curve and add progressive resistance without needing heavier dumbbells. Loop bands and smaller booty bands work great. A set with light, medium, and heavy tensions runs $10 to $50 and rolls up into a drawer. Use them for assisted pull-ups, banded hip bridges, or stacked resistance on squats and presses.
Adjustable weight bench lets you do flat, incline, and decline pressing plus stable support for rows, step-ups, and hip thrusts. Quality benches with up to 12 adjustment levels range from $100 to $350 and occupy roughly 4×2 feet when in use. Many fold or store upright against a wall.
Yoga or exercise mat protects your joints during floor work and gives you a clean, stable surface for planks, core holds, stretching, and mobility drills. Budget $10 to $60 for a foam mat that rolls up in seconds.
Jump rope (optional) is compact cardio that costs $10 to $40 and requires about 2 to 3 feet of clearance in every direction. Useful for warm-ups, finishers, or standalone conditioning sessions when you need a quick heart-rate spike without equipment setup.
This five-item kit delivers everything you need for progressive compound and isolation work, sustainable overload, and joint-friendly movement variation. You can squat, hinge, push, pull, and carry load with dumbbells and bands alone. The bench unlocks pressing angles and stable support for unilateral lower-body work. Together, they cover the same movement categories as a full commercial gym while occupying less floor space than a single couch.
Space-Efficient Strength Training Equipment Options and Alternatives
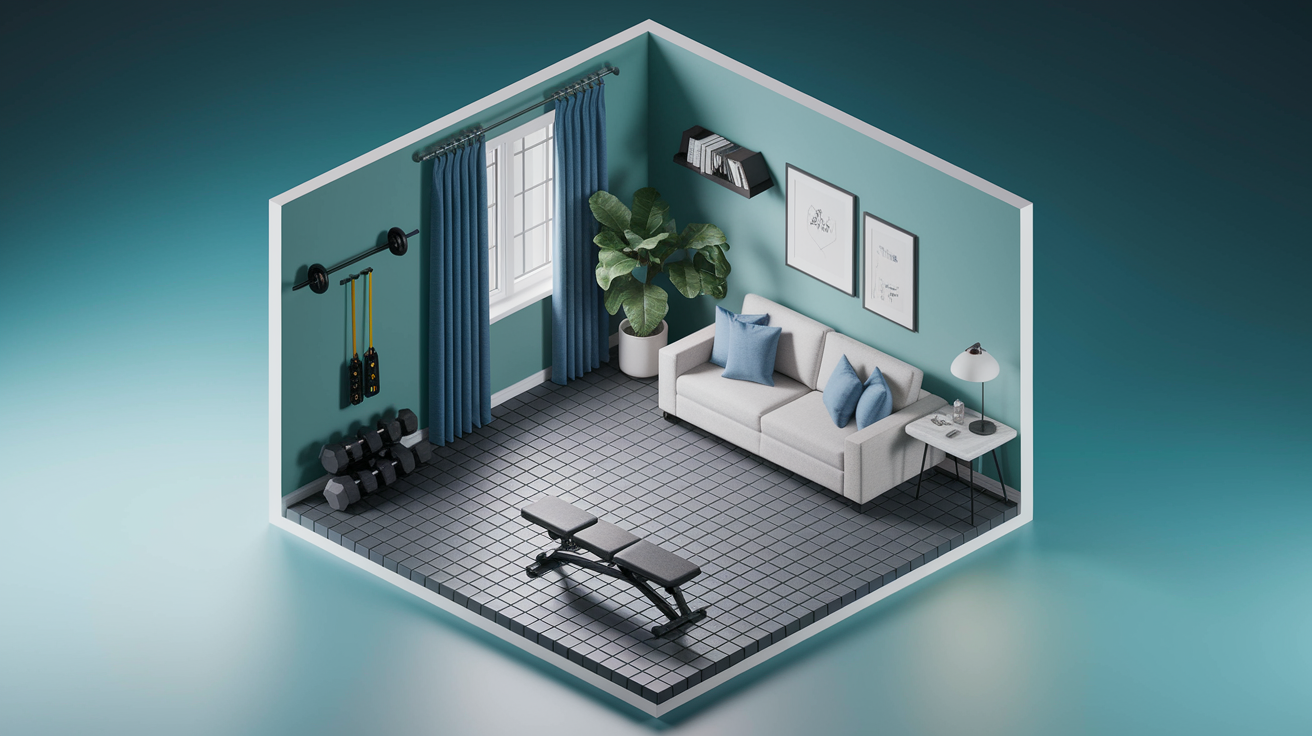
Even small apartments can support strength training if you choose gear that stores vertically or folds flat. A typical dumbbell-and-band setup fits into 6×6 feet of floor space with enough clearance to move safely. If you’re planning to use a barbell for squats and deadlifts, budget 8×10 feet minimum plus ceiling height to press the bar overhead without hitting light fixtures.
When space is genuinely tight, substitute full-length barbells with shorter specialty bars or use heavy dumbbells for bilateral lower-body work. Stability balls can replace a bench for some pressing angles and core exercises, though you lose the rigid platform needed for maximum loads. Trap bars or hex bars let you deadlift in a smaller footprint than a conventional barbell and they’re easier on lower-back positioning for beginners.
| Tool | Space Needed | Best Alternative |
|---|---|---|
| Full barbell (7 ft) | 8×10 ft floor area plus overhead clearance | Short barbell (4 to 5 ft), trap bar, or heavy adjustable dumbbells |
| Adjustable bench | 4×2 ft footprint when in use; folds/stands upright | Stability ball, heavy-duty ottoman, or sturdy step platform |
| Weight plate rack | Vertical stack about 2×2 ft | Wall-mounted pegs or horizontal storage under furniture |
Pick gear based on what you can actually fit and move safely rather than what you wish you had room for. If you’ve got 6×6 feet and a standard ceiling, stick with dumbbells, bands, and a foldable bench. If you’ve got a basement or garage with 10+ feet of length and rubber flooring, a short barbell and bumper plates become realistic options. Measure your space first, then buy what fits without turning your living room into an obstacle course.
Budget-Friendly Minimal Equipment for Effective Home Strength Training
Start with the tools that unlock the most exercises, then add load incrementally as your strength increases. Prioritize adjustable dumbbells first because they replace an entire rack of fixed pairs. Add a set of resistance bands next since they cost $10 to $50 and give you a second way to increase tension without buying heavier weights. Save the bench for third unless you already have a stable household substitute like a heavy ottoman or step platform.
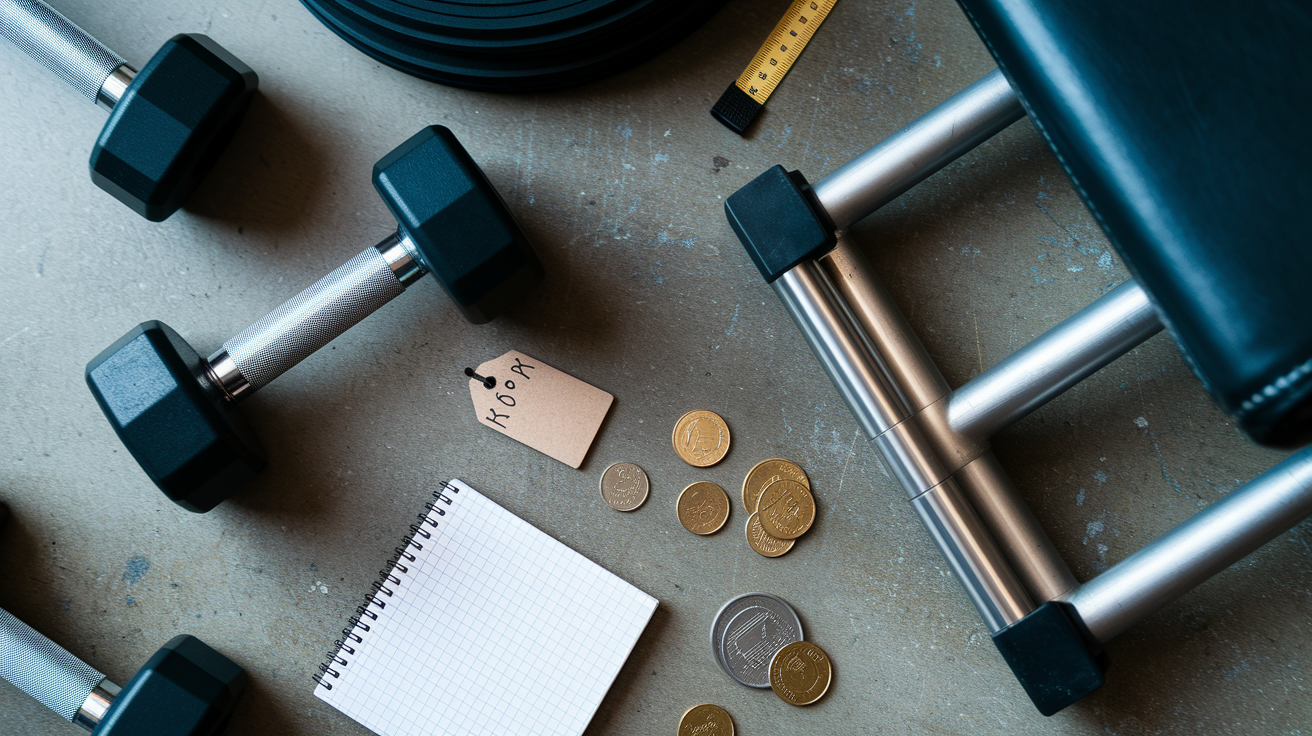
Used gear cuts costs substantially if you know what to inspect. Check adjustable dumbbells for smooth dial mechanisms and secure locking pins. Test benches for wobble and verify that adjustment ladders lock solidly at each angle. Avoid rusty plates or bent barbells, but lightly worn rubber mats and foam equipment are usually fine if the structure is intact. Fixed dumbbell pairs run about $20 to $80 each depending on weight, so a used adjustable set at $100 to $200 often pays for itself compared to buying three or four fixed pairs new.
When your dumbbells feel maxed out, you don’t need to buy the next heavier pair immediately. Combine a resistance band with your current weight to add 10 to 30 pounds of variable tension. Slow your tempo to 3 to 4 seconds on the lowering phase. Add an extra set or two. Shorten rest periods by 15 to 30 seconds. These tactics extend the useful range of lighter loads and delay the need for expensive upgrades by weeks or months.
Programming Strength Training at Home Using Minimal Equipment

Programming around minimal equipment means focusing on compound movements that recruit multiple muscle groups and allow progressive loading over time. Build your weekly plan around squat patterns, hip hinges, horizontal and vertical pushes, and horizontal and vertical pulls. Use dumbbells, bands, or your own bodyweight depending on what creates the right challenge for each movement. Frequency matters more than variety, so three full-body sessions per week with at least one rest day between training days works well.
Sample Full-Body Template
A simple weekly structure might look like this: Monday does goblet squat 3×8, dumbbell bench press 3×8, dumbbell bent-over row 3×8 per arm, plank 3×45 seconds. Wednesday gets dumbbell Romanian deadlift 3×10, overhead press (dumbbells or single-arm) 3×6 to 8, reverse lunge 3×8 per leg, banded pull-apart 3×15 to 20. Friday runs Bulgarian split squat 3×8 per leg, dumbbell incline press 3×8 to 10, single-arm dumbbell row 3×8 to 10, Russian twist (plate or dumbbell) 3×12 to 20. Rest 60 to 90 seconds between sets on compound lifts and 45 to 60 seconds on isolation and core work. Track your weights and reps in a notebook or app so you know when to add load.
Progressive Overload With Limited Gear
When you hit the top of your rep range with solid control, add weight if you have it. If not, increase reps by one or two per session until you reach the upper end of the range, then add a fourth set before cycling back to fewer reps with more load. Use bands to create variable resistance by looping them around dumbbells or anchoring them under your feet during squats and presses. Slow the eccentric (lowering) phase to three or four seconds to increase time under tension without needing heavier weights. Shorten rest intervals by 10 to 15 seconds every few weeks to raise training density. These methods keep you progressing even when your heaviest dumbbell stays the same for months.
Practical Equipment Substitutions for Home Strength Training
You don’t need to own every piece of traditional gym gear to hit the same movement patterns and training stimulus. Household items and DIY solutions cover most gaps when budget or space won’t allow commercial equipment.
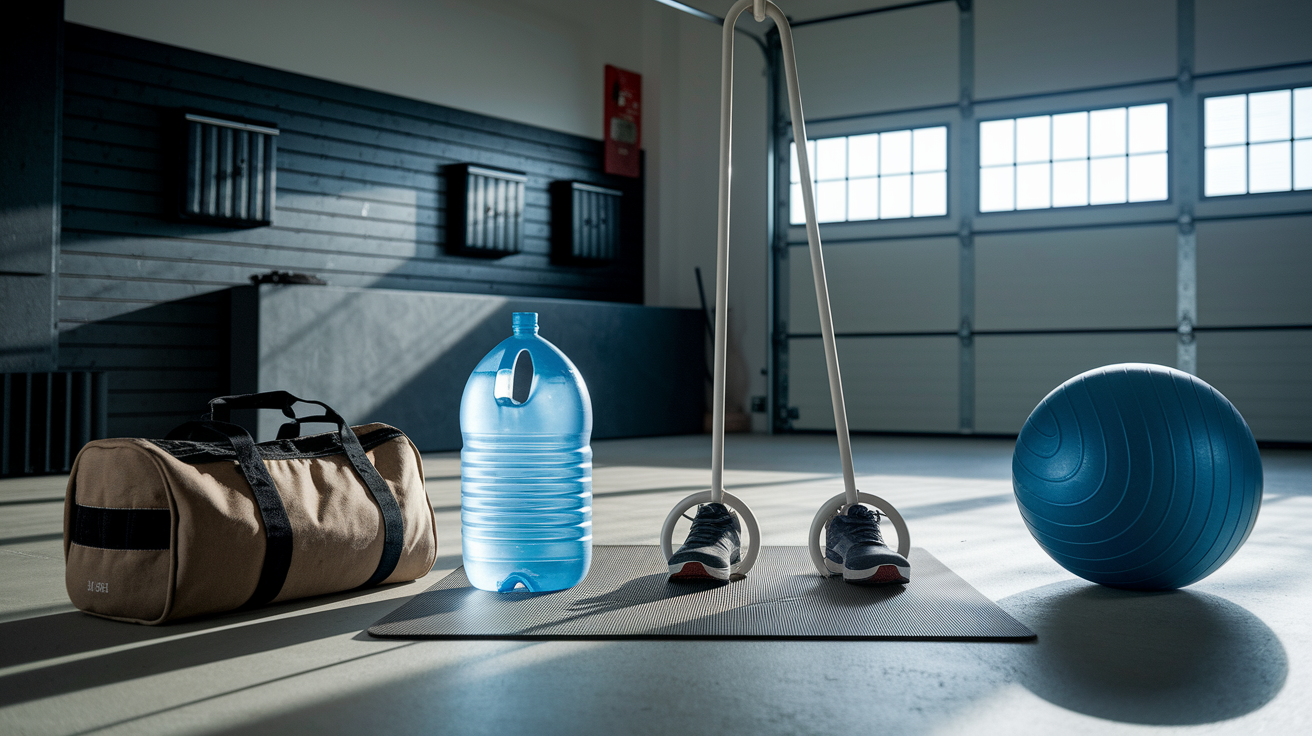
DIY sandbag: Fill a duffel bag or heavy-duty trash bag with 20 to 60 pounds of sand, seal it tightly, and use it for shouldering, carries, squats, and cleans. Cost is under $10 if you already have the bag.
Banded deadlift: Loop a heavy resistance band under both feet and hold the other end in your hands to mimic the hip-hinge pattern of a barbell deadlift without needing plates or a bar.
Stability ball for bench substitute: Use a large stability ball for dumbbell chest presses and rows when you don’t have an adjustable bench. You lose some stability and max load capacity, but the movement pattern stays similar.
Water-jug goblet squat: A 5-gallon water jug (about 40 pounds when full) works as a front-loaded squat weight if you don’t have dumbbells heavy enough yet.
Top substitutes prioritize safety and movement quality over perfect equipment replication. A banded hip hinge won’t feel identical to a 300-pound barbell deadlift, but it trains the same muscle groups and motor pattern. As long as you can control the load, maintain a neutral spine, and progressively increase tension or reps, the substitute does its job.
Safety and Space Planning for Minimal Home Strength Equipment
Flooring protection matters even with lighter loads. Rubber mats or interlocking foam tiles absorb shock when you set dumbbells down and prevent damage to hardwood or tile underneath. A 4×6-foot mat section costs $30 to $100 and gives you a dedicated training zone that also improves traction during lifts. If you’re planning to drop bumper plates from overhead or do Olympic-style movements, invest in thicker horse-stall mats or commercial rubber flooring rated for impact.
Training solo at home requires extra attention to load selection and movement clearance. Leave 2 to 3 feet of open space around your working area so you can bail safely from a squat or step back during a lunge without hitting furniture. Start every new exercise with a lighter weight than you think you need and add load only when you can complete all reps with controlled form. Keep your phone nearby in case of injury, and avoid attempting true one-rep max lifts without a spotter or safety bars.
Storage keeps small spaces functional and reduces tripping hazards. Wall-mounted hooks hold resistance bands and jump ropes. Vertical dumbbell racks or tiered shelves store multiple pairs in a 2×3-foot footprint. Fold your bench and lean it against a wall or slide it under a bed when not in use. If you own a barbell, use vertical plate storage or a simple DIY rack made from 2×4 lumber and pipe flanges to keep plates off the floor. Clean storage also makes it easier to start your next session without spending ten minutes moving gear around.
Final Words
Start by picking the three essentials: adjustable dumbbells, a stable bench, and resistance bands. Toss in a mat or jump rope if you can.
You now have priorities for space, budget-friendly swaps, simple programming, DIY substitutes, and safety tips to keep training consistent.
Use this minimal effective equipment list for strength training at home as your action plan. Progress by adding reps, tempo, or bands before buying more gear. Small, steady steps lead to real strength gains and noticeable progress in weeks.
FAQ
Q: How to strength train at home with minimal equipment?
A: Strength training at home with minimal equipment means using a few versatile tools and focusing on compound moves—train full-body 2–3 times weekly, progress load slowly, and keep sessions 30–45 minutes.
Q: What equipment do I need for strength training at home?
A: The core equipment you need is adjustable dumbbells, resistance bands, and a stable bench; add a mat for floor work and a jump rope if you want extra cardio, all with small footprint and budget options.
Q: What is the 3 3 3 rule for working out?
A: The 3 3 3 rule for working out refers to doing three sets of three reps (3×3) on main lifts—a low-rep, heavier scheme aimed at building strength with longer rest between sets.
Q: Can I lift weights with fibromyalgia?
A: You can lift weights with fibromyalgia by starting very light, progressing slowly, watching for flare-ups, prioritizing sleep and recovery, and getting clearance or guidance from your doctor or physical therapist.