Think you need a treadmill and a full rack to start? Think again.
Most beginners only need three things: adjustable dumbbells, resistance bands with different tensions, and a 6 to 10 mm mat.
Choose those well and you can train every muscle, make steady progress, and stop wasting money on gear you never use.
This post shows simple, practical checks for quality, how to match gear to your space and goals, and the one smart purchase to make this week.
Core Beginner Equipment and How to Choose It
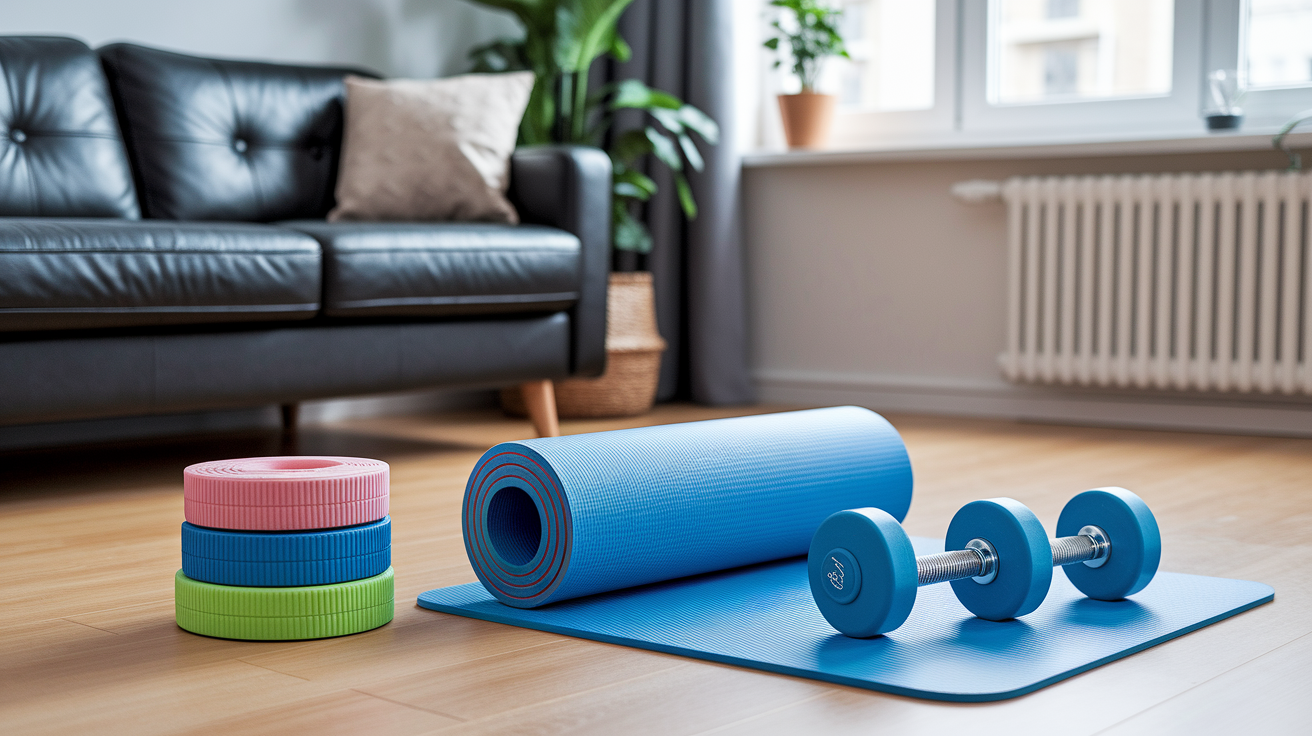
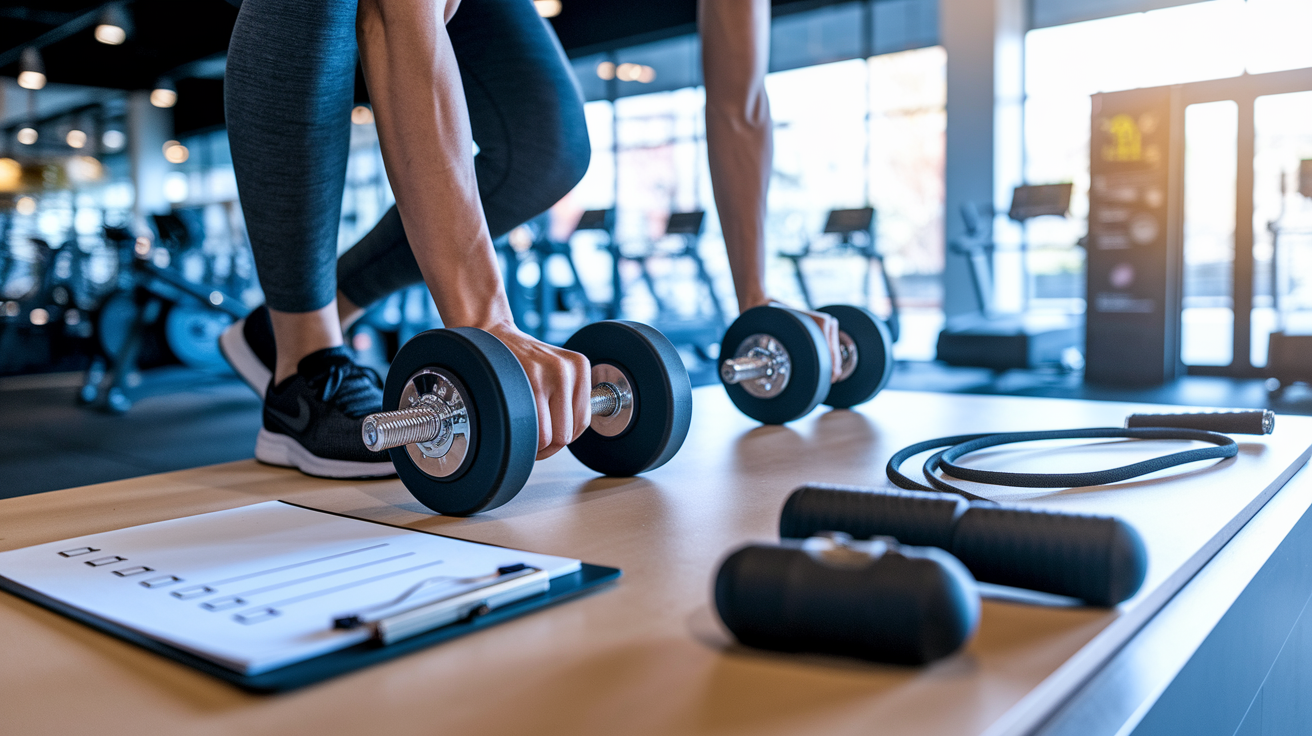
A smart first home gym needs three things: adjustable dumbbells, resistance bands with multiple tension levels, and a decent mat around 6 to 10 mm thick. That’s it. These three cover safety, versatility, durability, and price without turning your living room into a warehouse.
When you’re picking dumbbells, find a set that adjusts from at least 5 to 25 pounds per hand. Small jumps matter because you’ll progress slowly at first, and you don’t want to stall out because the next weight up is too big a leap. Bands should come in a pack with at least three resistance levels. Color codes or pound markings help you grab the right one fast. The mat gets overlooked, but thickness counts more than people realize. Too thin and your knees will hate you. Too thick and you’ll wobble during lunges or anything where balance matters.
Good dumbbells click solidly when they lock. Quality band sets usually throw in door anchors and handles, which opens up way more exercise options. Around 6 to 10 mm hits the sweet spot for mats. Price matters, sure, but durability wins. A $30 mat that falls apart in three months costs more than a $50 mat that lasts three years.
Why this combo works so well for beginners:
- Adjustable dumbbells replace ten or more pairs of fixed weights, so you save space and money while still being able to add 5 pounds when you’re ready.
- Resistance bands scale from assisted pull-ups to heavy hip thrusts, offering anywhere from 10 to 60+ pounds of tension in something that fits in a drawer.
- A solid mat turns any room into a safe training zone, reducing impact on your back, hips, and knees while keeping you from slipping when things get sweaty.
Evaluating Equipment Quality and Durability
Quality shows up in the materials, the load rating, and whether the company bothered to include a warranty card. Rubber coated dumbbells handle drops better than bare metal and they won’t wreck your floor. Good latex resistance bands stretch thousands of times without snapping. Cast iron plates with a thin rubber shell outlast plastic coated versions that crack the first time you bump them. Check the load capacity stamped on benches and racks. If a bench says “300 lb max” and you weigh 180, you’re cutting it close once you add a barbell. Look for at least 500 to 600 pounds on an adjustable bench so it handles your body plus the weight you’re lifting with room to spare.
Warranty length tells you how confident the manufacturer is. A one year warranty on moving parts means they expect something to wear out. Five to ten years on the frame signals they built it to last. Red flags include visible weld seams that look rough or uneven, plastic components where metal should be (like bench hinges), and vague or missing weight ratings. If the product page doesn’t list a load limit, skip it.
Before you buy, read recent reviews and filter by “verified purchase.” Search for words like “broke,” “wobbly,” or “rust.” If three people mention squeaking after a month, that’s a pattern. Quality costs a bit more up front, but a $150 adjustable dumbbell set that lasts five years beats a $70 set that dies in one. Do the math. It’s cheaper per workout.
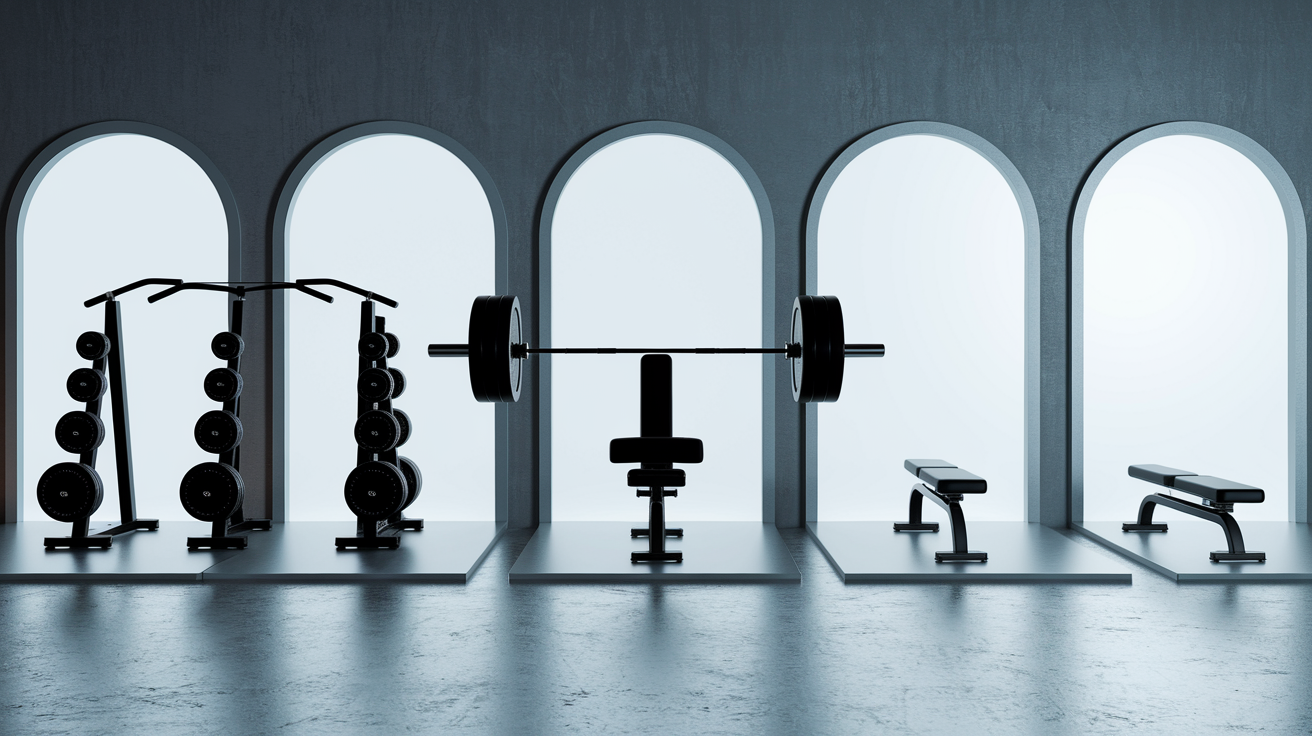
Essential vs. Optional Equipment
Essential gear is anything you’ll use three or more times a week and can’t easily replace with bodyweight alone. That list is short. One set of adjustable dumbbells (or a barbell with plates if you have the space), a set of resistance bands with varied tensions, and a 6 to 10 mm mat. These three let you train every major muscle group, progress your load over months, and work safely on any floor. If you can only spend $200 total, spend it here.
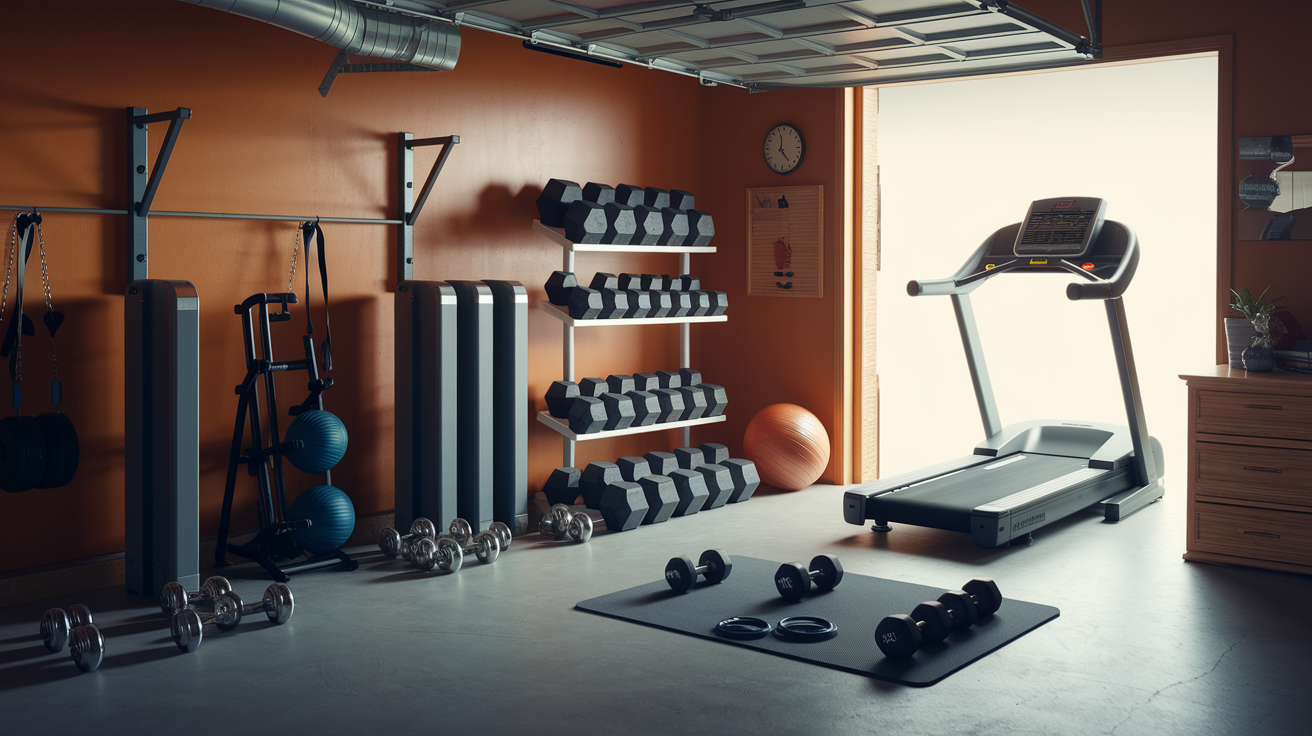
Optional equipment expands variety and targets specific goals, but you can delay it until you’ve trained consistently for a few weeks and know what you actually enjoy. Beginners buy a stability ball or a fancy cardio machine on day one, then never touch it. Wait until you’ve proven the habit, then add one piece at a time based on real gaps in your routine.
What fits in the “nice to have” column, and when each makes sense:
- Adjustable bench — essential if your goal is upper body strength (chest press, rows). Flat, incline, and decline angles unlock dozens of dumbbell moves.
- Kettlebell (one 8 to 16 kg / 18 to 35 lb) — great for swings, goblet squats, and conditioning circuits. Adds a different grip challenge than dumbbells.
- Pull-up bar (doorframe or wall mounted) — necessary if building back and bicep strength is a priority and you can’t do pull-ups unassisted yet. Pair with a resistance band for help.
- Jump rope — ultra compact cardio tool. $10 to $30 buys adjustable length and smooth rotation for interval training.
- Foam roller or massage stick — helps with soreness and mobility. Worth it once you’re training hard enough to need recovery work.
Matching Equipment to Fitness Goals
Your main goal decides your first $100. If you want to build muscle, buy resistance tools. Dumbbells, kettlebells, or a barbell set with plates. Progressive overload (adding a little weight or a few reps each week) drives strength gains, so you need a way to make exercises harder over time. Adjustable dumbbells and bands both let you dial tension up in small steps. If weight loss is the target, prioritize tools that keep your heart rate elevated. A jump rope, resistance bands for circuits, and maybe a single moderate kettlebell for swings and high rep work. Cardio machines are optional. Ten minutes of jump rope or a band circuit does the job without the footprint or price tag.
Flexibility and mobility goals need the least equipment. A thick mat, a set of long resistance bands (the 41 inch loop kind), and a foam roller cover stretching, assisted mobility drills, and self massage. You can add a yoga block or strap later, but those three pieces handle 90% of flexibility work. Don’t skip this category if you sit all day or feel stiff. Tight hips and shoulders wreck your form on strength moves and set you up for injury.
Here’s a quick pairing guide:
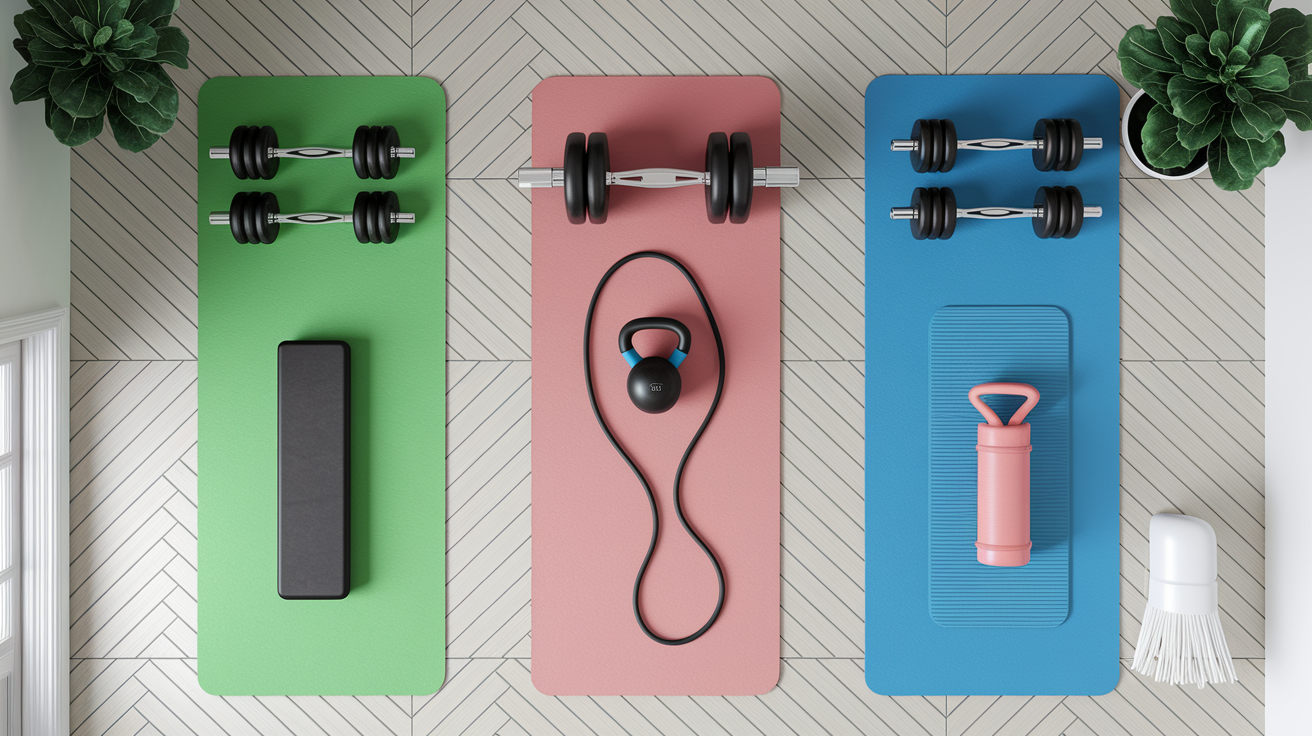
| Primary Goal | Suggested First Equipment |
|---|---|
| Muscle building / strength | Adjustable dumbbells (5 to 50 lb), resistance bands, adjustable bench |
| Weight loss / conditioning | Jump rope, resistance bands, one kettlebell (12 to 16 kg), mat |
| Flexibility / mobility | Thick mat (10 mm), long loop bands, foam roller |
Space and Budget Planning for a Beginner Home Gym

Measure your available floor space before you open a single product page. A basic setup (mat, dumbbells, and bands) needs about 6 x 6 feet of clear floor. If you add a bench or rack later, plan for 8 x 10 feet minimum. Check ceiling height, too. Overhead presses and jump rope need at least 8 feet of clearance. If your space is tighter, stick with compact, stackable gear. Adjustable dumbbells instead of a full rack of fixed weights, wall mounted pull-up bars instead of a free standing tower, and bands instead of a bulky cable machine.
Budget tiers break down like this. Under $150 buys you a solid starter kit: resistance bands ($25 to $50 for a set of five), a 6 mm mat ($15 to $30), and a door anchor with handles ($10 to $20). That’s enough to train your whole body three times a week. Between $150 and $400, add adjustable dumbbells that go up to 40 to 50 pounds per hand. Plan on $150 to $300 depending on the brand. At $400 to $800, you can grab an Olympic barbell ($150 to $300), a pair of 45 pound plates, and a simple adjustable bench. Over $1,000 opens the door to a power rack, full plate set, and a mid range rower or bike if cardio matters to you.
Here’s a step by step space and budget check:
- Measure your training area in feet or meters (length, width, ceiling height) and note any obstacles like furniture or low hanging lights.
- List your non-negotiable goals (strength, cardio, flexibility) and rank them so you know where to spend first.
- Set a realistic total budget and split it 70% on essentials (dumbbells, bands, mat) and 30% on one optional item you’ll actually use.
- Plan for storage by choosing adjustable or stackable gear. A single adjustable dumbbell set replaces 10 pairs of fixed weights and fits on one small shelf.
Safety Considerations for Buying and Using Equipment
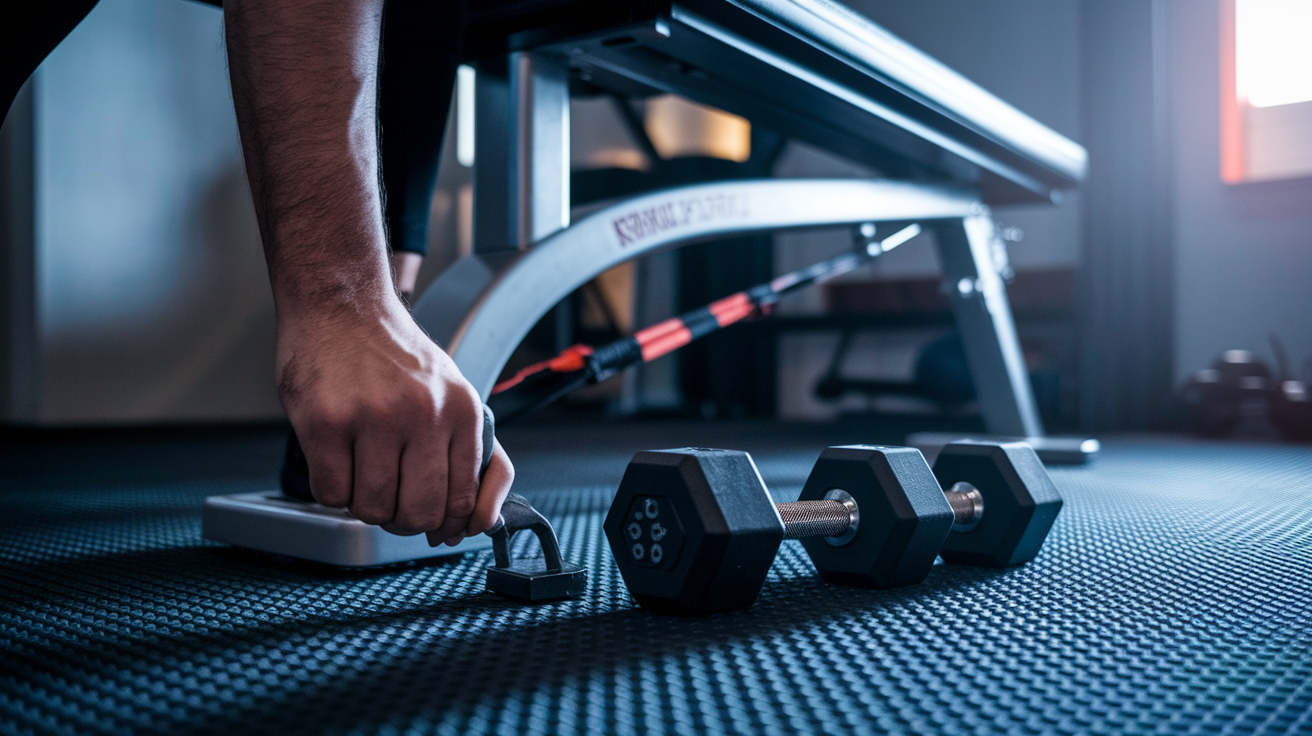
Beginner injuries usually come from wobbly equipment or picking the wrong resistance level, not from the exercises themselves. Before you use any new piece, inspect it. Check that bench legs lock firmly at every angle setting. If there’s any wiggle, tighten the bolts or return it. For dumbbells, spin the plates and make sure they don’t rattle or shift. Resistance bands shouldn’t have nicks, tears, or chalky spots. Those weak points snap mid exercise. If your mat slides on your floor, put a yoga towel under it or buy a mat with textured rubber on both sides.
Setup matters as much as the gear itself. Dumbbells need a flat, stable surface. Lifting on a sloped floor throws off your balance. If you’re using a bench, position it so you have at least two feet of clearance on all sides. That space gives you room to bail safely if you can’t finish a rep. Bands should anchor to something solid, a door hinge or a heavy post, not a lightweight chair that tips. For weight selection, start conservatively. If the instructions say “pick a weight you can lift 10 to 12 times,” choose one you can lift 15 times with perfect form, then progress from there. Leave two reps in the tank every set until you’re confident in your technique.
Non slip surfaces are non negotiable. Dumbbells with rubber coating or hexagonal ends won’t roll away. Mats with a waffle or diamond texture grip the floor. Avoid gear with smooth, glossy finishes. Those turn slippery the moment you sweat. Check weight and tension ratings before you load up. If a resistance band says “30 lb max” and you weigh 180, don’t use it for assisted pull-ups. Overloading equipment is how things break and people get hurt.
Versatility and Scalability of Equipment
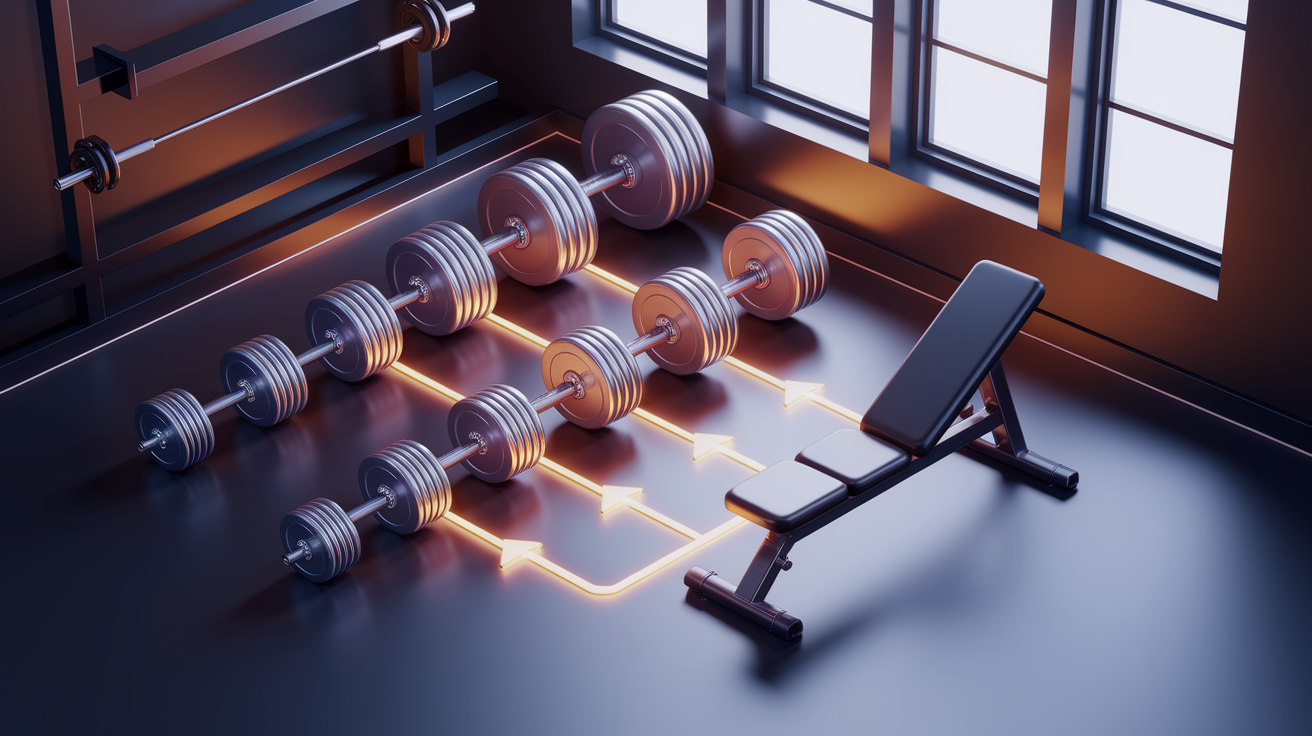
The best beginner gear grows with you instead of getting replaced in six months. Adjustable dumbbells let you add 5 pounds per hand when 20 gets easy, so one $250 set replaces the $600 you’d spend on eight pairs of fixed dumbbells. Resistance bands with multiple tension levels do the same thing. Start with the yellow band for rows, move to red when yellow feels light, then stack two bands once you outgrow single resistance. An adjustable bench unlocks flat, incline, and decline angles, which means one piece of equipment supports a dozen chest, shoulder, and back variations instead of locking you into one movement pattern.
Multi use items save money and floor space. A single kettlebell works for swings, goblet squats, halos, and Turkish get-ups. A suspension trainer (like a TRX) mounts to a door or beam and covers rows, chest presses, squats, and core work with one strap system. Compare that to buying a separate chest press machine, a leg press, and a cable tower. You’d spend thousands and fill a garage. Beginners don’t need that complexity. You need tools that do three or four jobs well.
The most scalable starter items are:
- Adjustable dumbbells (5 to 50+ lb per hand) — cover the first year or two of progression for most upper body and many lower body moves.
- Resistance band sets (10 to 60+ lb tension range) — let you add assistance (pull-ups) or resistance (squats, presses) in small, measurable jumps.
- Adjustable bench with incline, flat, and decline — triples the exercise library and supports safe lifting as loads increase.
Recognized Brands and What to Expect
Established fitness brands invest in consistent manufacturing and stand behind their products with real warranties. Companies like Bowflex, PowerBlock, Rogue, Rep Fitness, CAP Barbell, and Concept2 have multi year track records and active customer service teams. That doesn’t mean every product is perfect, but if something breaks, you can usually get a replacement part or a refund without a fight. Lesser known brands often vanish after a few months, leaving you stuck with broken gear and no support.
Warranty length signals durability. A ten year frame warranty on a power rack means the company tested it to handle years of heavy use. A 90 day warranty on moving parts means they expect wear and tear, and they’re not covering it. When comparing two similar items, check the fine print. Some brands cover the frame but exclude bolts, pulleys, and cables. Others cover everything for a year, then offer paid parts after that. Longer, broader coverage usually correlates with better build quality.
Why does brand reputation matter for beginners? Because you don’t yet know what “good” feels like. An experienced lifter can spot a flimsy bench in seconds. A beginner might buy one, use it for a month, then realize the padding compresses unevenly and the legs wobble. Sticking with a recognized name reduces that risk. You’re paying a bit extra for the company’s quality control process and the peace of mind that if it does break, someone will help.
Common Beginner Purchasing Mistakes
Buying too much, too soon is mistake number one. You walk into a big box store or scroll a sale page, see a complete rack system with a lat pulldown and leg extension, and think “I’ll use all of this.” Then it sits in the corner because you didn’t build the habit first. Start with three versatile pieces (dumbbells, bands, mat) and add one item every 4 to 6 weeks once you’ve proven consistent training. If you skip a week, you don’t need more equipment. You need a simpler routine.
Other common errors:
- Choosing advanced or single purpose equipment too early — a $600 sissy squat machine is overkill when bodyweight squats and dumbbell goblet squats will build your legs for months.
- Ignoring space and storage — buying a treadmill that doesn’t fit through your door or a barbell that’s too long for your ceiling height. Measure twice, buy once.
- Skipping quality markers — going for the cheapest option without checking load rating, material type, or warranty, then replacing it in three months when it breaks.
- Overbuying fixed weights — a full set of 5 to 50 lb dumbbells costs $400+ and fills an entire rack. One adjustable set does the same job in 12 inches of shelf space.
How to Test Equipment Before Buying
If you can visit a store or showroom, test every piece before you pay. For dumbbells, pick up the heaviest weight in the set and check the grip diameter. If your fingers barely wrap around or the handle digs into your palm, it’s not the right fit. Adjustable dumbbells should change weight smoothly. Twist or slide the selector and listen for clicks or grinding. Smooth and quiet means good. For benches, sit on it, lie flat, and adjust to incline. Press your feet into the floor and push your back into the pad. Any wobble or creaking is a red flag.
Resistance bands should stretch without visible thinning or color change in the latex. Hold one end, pull to about 150% of its resting length, and inspect the middle for weak spots or nicks. Jump ropes need adjustable length and smooth handle rotation. Spin the handles while holding the rope still. If they bind or make noise, the bearings are low quality. For larger items like racks, push and pull on the uprights. Solid construction won’t flex or rattle.
Here’s a simple three step testing process:
- Grip and handle check — hold, twist, or hang from the equipment to confirm comfort and diameter. Rough or slippery grips cause blisters and lost control.
- Stability test — apply side to side and front to back force to benches, stands, and bars. Anything that rocks or tips fails. Also sit, lie, or stand on it at your full body weight.
- Moving parts inspection — spin sleeves on barbells, adjust pins on benches, change weight on dumbbells, and stretch bands to full working length. Smooth motion and no noise or catching means quality construction.
Final Words
Start with the basics: adjustable dumbbells, resistance bands, and a 6-10 mm mat. We covered how to pick them for safety, versatility, and durability, plus quick checks for quality and warranties.
Match gear to your goals, plan for space and budget, and try equipment before you buy. Avoid common mistakes like buying too much or choosing items that won’t scale.
Use this guide as your step-by-step on how to choose home gym equipment for beginners, start small, pick durable multipurpose tools, and enjoy steady progress.
FAQ
Q: What is the 3-3-3 rule for gym?
A: The 3-3-3 rule for gym is a simple beginner plan: pick three compound exercises per session, do three sets each, and train that routine three times per week for steady progress.
Q: What is the best home gym equipment for beginners?
A: The best home gym equipment for beginners is adjustable dumbbells, resistance bands, and a non-slip mat—choose dumbbells with a 5–50 lb range, bands with light-to-heavy tensions, and a 6–10 mm mat.
Q: What gym equipment is good for osteoporosis? What gym equipment is best for osteoarthritis?
A: Equipment good for osteoporosis and osteoarthritis includes resistance bands, adjustable light-to-moderate dumbbells, a stationary bike or elliptical for low-impact cardio, and balance tools like a stability ball; check with your clinician first.