Still guessing whether last week’s workout was harder than this one?
That guesswork is the main reason progress stalls.
Logging sets, reps, and load makes progress obvious.
This post shows three simple ways to track every set—quick notebook lines, a no-fuss spreadsheet, or a one-tap app—so you can measure weekly volume, spot early fatigue, and add weight safely for steady gains.
Read on to learn exactly what to write after each set and one easy habit to start today.
Quick Start: What to Log in Each Set for Immediate Progress

If you’re new to tracking workouts, start here. Record five simple pieces of information per set: exercise name, weight lifted, reps completed, set type (warm-up, top, or back-off), and RIR (reps in reserve). Write it down right after the set, while your phone’s rest timer counts down. That habit alone unlocks progressive overload, the mechanism behind roughly 85% of successful muscle-building programs. Without a record, you’re guessing whether today’s squat was harder than last week’s. Guesses don’t build steady results.
Use a simple line format that’s fast to write. “Set 1: 5 reps @ 200 lb, RIR 2.” That tells you the load, how many clean reps you finished, and how many more you could’ve done. Include your rest interval (2–3 minutes for compounds like squats and bench, 1–2 minutes for curls or leg extensions) so you can replicate conditions session to session. When every set is logged with consistent detail, you create a performance database. Next week, you’ll know exactly what to beat.
Volume equals sets times reps times weight. Volume drives hypertrophy. By recording each working set, you can watch total weekly volume climb, proof that progressive overload is happening. If your log shows flat numbers for three weeks, you know it’s time to adjust load, reps, or sets before a plateau hardens.
- Exercise name (be specific: “Incline dumbbell press” not just “press”)
- Weight or load used (60 lb dumbbells, 135 lb barbell)
- Reps completed (actual number you finished with good form)
- Set type (warm-up, top/heavy, or back-off)
- RIR recorded (how many more reps you could do, ideal range 1–3 for main lifts)
- Rest time before next set (e.g., 2:30, 90 seconds)
Pros and Cons of Logging Sets, Reps, and Load for Steady Gains

Structured logging clarifies what’s working. Tracked lifters are roughly 42% more likely to stay consistent, and good tracking apps can boost adherence by more than 50%. When you write down every set, you see objective patterns. Volume trending up, RIR staying steady, rest times consistent. That makes decisions simple. Did you add weight or reps this week? The log answers instantly. Fatigue shows up early, too. If reps drop on the same load and RIR creeps higher, you know recovery is lagging before you hit a full plateau. That early signal lets you schedule a deload or dial back volume, keeping progress steady instead of crashing into overtraining.
On the flip side, detailed logging adds one more step to every set. Some people become obsessed with numbers, chasing tiny PR wins at the expense of form or recovery. If you’re constantly refreshing tonnage charts or stressing over a single missed rep, tracking becomes a distraction. Logs also require discipline. Skipping entries for a week creates gaps that make trend analysis unreliable. Inconsistent units or vague exercise names turn your notebook into a mess you can’t interpret.
Pros:
- Objective evidence of progressive overload
- Early detection of fatigue or plateaus
- Higher training adherence (42% improvement cited)
- Clear targets for every session
- Easy comparison across mesocycles
- Simplified coaching and program adjustments
Cons:
- Adds administrative time between sets
- Risk of number obsession over feel
- Requires consistent discipline to stay useful
- Can be tedious if logging too many variables
Structuring a Training Log for Long-Term Consistency
Consistent formatting keeps your log readable for months. Pick the same exercise names every session. “Incline Smith Machine Press” instead of switching between “chest press” and “Smith incline” so you can search or filter quickly. Use the same abbreviation conventions: warm-up sets in parentheses, actual working sets numbered (1, 2, 3), and always note units (lb or kg). Include a column for the date, another for notes about sleep or soreness, and leave a little space for RPE or RIR beside each set. When every entry follows the same template, you spot trends at a glance. You won’t waste time decoding what “BP 3×8” meant four weeks ago.
Structured templates also protect against ambiguity. A clear format makes it obvious when you skipped warm-ups, when you tried a new rep range, or when you added a fourth working set. Over a full mesocycle (4–6 weeks), that clarity turns into confidence. You know exactly which sessions drove progress and which variables stalled. The tighter your structure, the faster you improve because analysis becomes automatic.
| Log Field | Purpose |
|---|---|
| Date | Tracks session frequency and identifies gaps |
| Exercise (with variation) | Ensures you compare apples to apples across weeks |
| Sets, Reps, Load | Core volume metrics; enables tonnage calculations |
| RPE or RIR | Gauges effort and helps regulate intensity |
| Rest interval | Keeps conditions consistent, aids recovery assessment |
| Notes | Records soreness, sleep, form cues, or injuries |
What a Workout Spreadsheet Is and How It Helps You Track Gains

A workout spreadsheet is a digital grid, usually built in Google Sheets or Excel, where each row is one set and each column is a data field (date, exercise, reps, load, rest, RIR). Formulas live in extra columns, automatically computing tonnage (sets × reps × load) and weekly totals the moment you type the last number. For example, three sets of five reps at 200 pounds calculates to 3,000 pounds of total volume instantly. Spreadsheets also let you create graphs. Weekly tonnage bars, best-set trend lines, estimated one-rep max curves. You see upward slopes or flat plateaus without manual math.
That automation saves time and catches mistakes. A typo that drops your squat from 205 to 25 will show up as a cliff on the chart. Rolling four-week averages smooth out daily noise, making it easier to decide whether you’re actually stuck or just having a rough week. When numbers update themselves and visuals highlight patterns, you spend less energy on admin and more on the training decisions that matter.
- Auto-calculated tonnage for every exercise and week
- Auto-highlighting PRs when you hit a new best set
- Weekly volume charts to spot upward trends or plateaus
- 1RM formulas (Epley) to estimate max strength from rep data
- Trend analysis with moving averages or percentage-change columns
What a Workout-Tracking App Is and Why Lifters Use Them
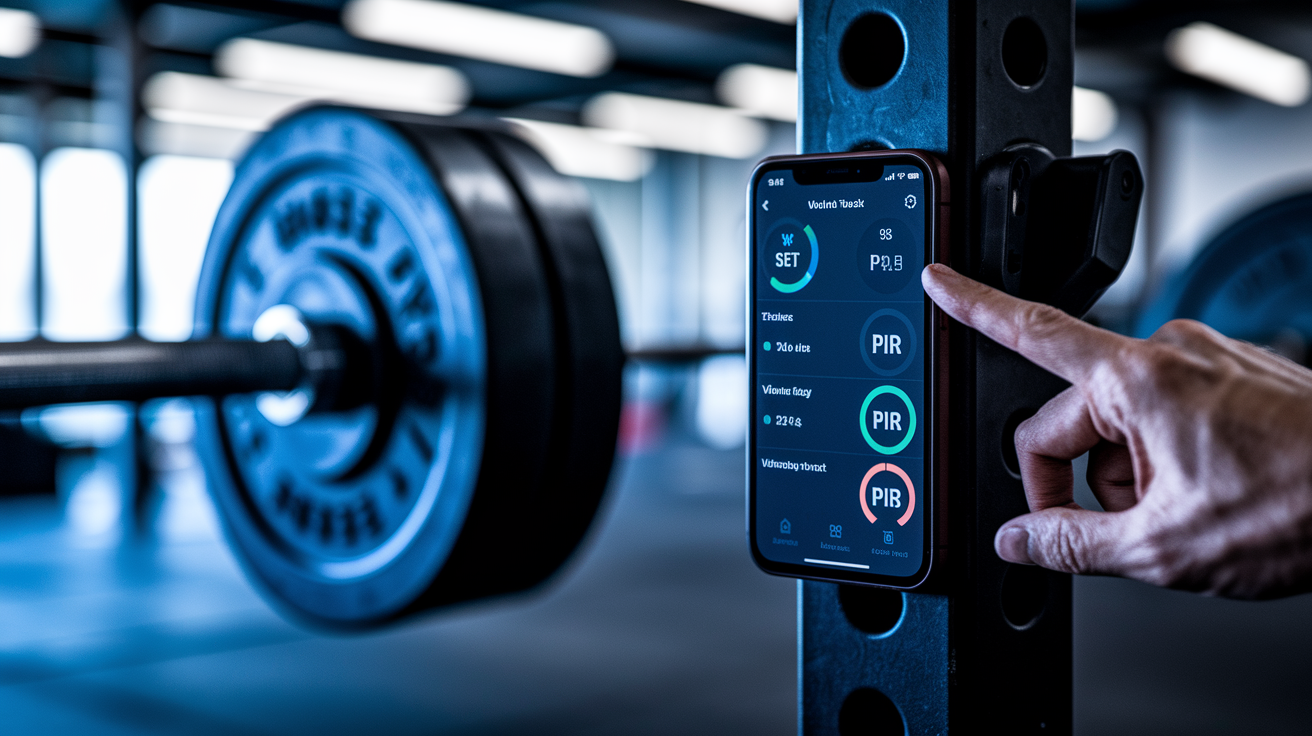
A workout-tracking app is a mobile tool that logs sets, reps, and load in real time, usually with a single tap per set. Most apps include built-in rest timers, RPE or RIR tags, and automatic PR tracking. You tap “135 lb × 8 reps, RIR 2,” the app saves it, starts a countdown, and adds the set to your session summary. When the timer hits zero, you do your next set. That flow keeps you focused between sets instead of fumbling with a notebook. Apps also generate charts instantly. Weekly volume, best-set history, estimated 1RM. You see your trend without opening a spreadsheet.
Studies suggest adherence improves by more than 50% when lifters use tracking apps, partly because the interface is faster and partly because push reminders and streak counters create habit loops. Apps eliminate the friction of manual entry, making it easier to stay consistent. If you’re the type who loses notebooks or forgets to transfer data, an app can be the difference between six months of clean progress data and six months of guesswork.
- Automated metrics (tonnage, volume, PRs) with zero extra work
- Saved routines you can reload each week in one tap
- Real-time rest timers that count down and notify you
- Mobile widgets for quick set entry without unlocking your phone
- PR dashboards that highlight new bests and streak milestones
How to Log Sets, Reps, and Load for Steady Gains (Step-by-Step)

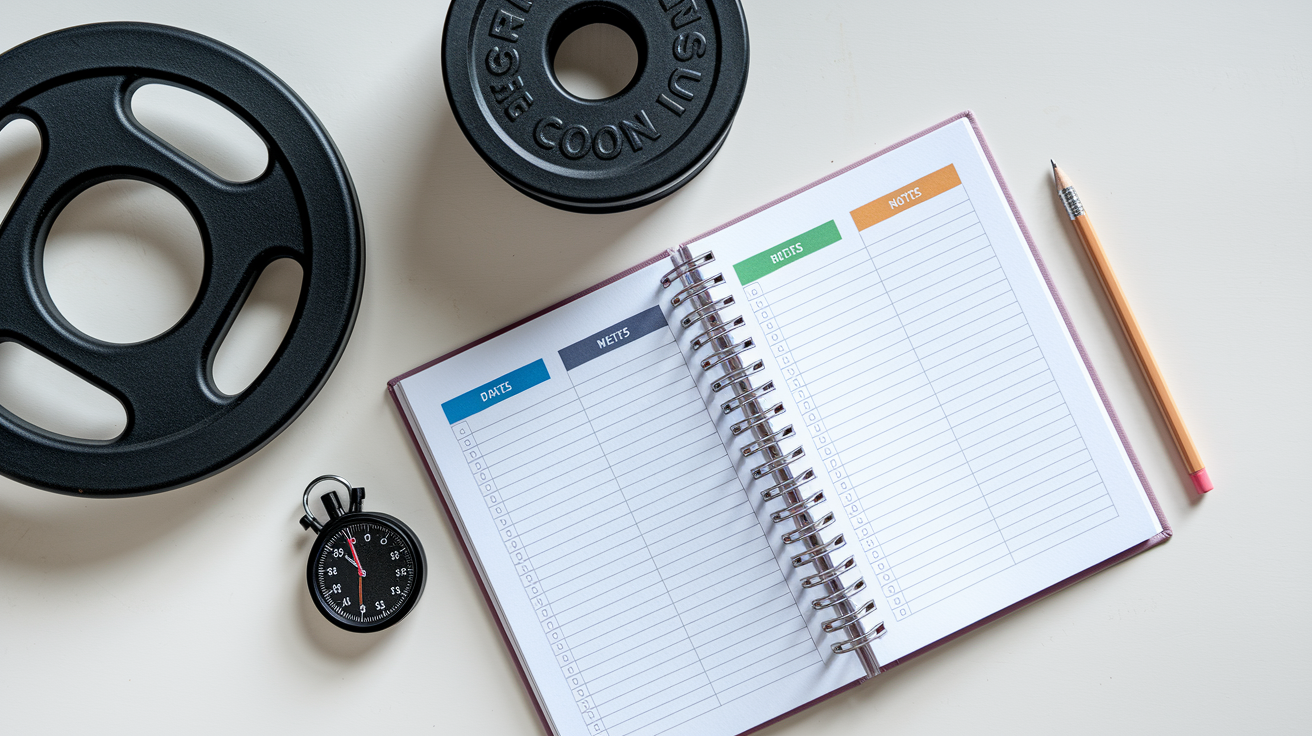
How to Log With a Simple Notebook
A paper notebook is the simplest tool. Cheap, durable, and immune to dead batteries. Write the date at the top of the page, then list each exercise. For every set, jot down reps, load, and RIR in a single line. Use parentheses for warm-ups so they don’t clutter your working-set count. Keep units consistent (always pounds or always kilograms) and note rest times if you’re tracking them. Review the previous session’s page before you start, so you know exactly what to beat.
- Open to a fresh page and write the session date.
- Write the first exercise name and your planned sets/reps (e.g., “Back Squat 3×5”).
- Do your warm-up sets and note them in parentheses: “(2×5 @ 135 lb).”
- Complete your first working set, then immediately write “Set 1: 5 reps @ 200 lb, RIR 2, rest 3:00.”
- Repeat for all working sets, calculate tonnage by hand if you want weekly totals.
How to Log With a Spreadsheet
Spreadsheets shine when you want formulas and graphs without manual arithmetic. Set up columns for date, exercise, sets, reps, load, RIR, rest, and notes. Add a calculated column (=sets × reps × load) for tonnage. Use conditional formatting to highlight new PRs or flag sessions where RIR spiked above your target range. At the end of each week, sum tonnage and compare it to the previous week’s total. Aim for a 2–5% monthly increase.
- Create a new sheet with columns: Date | Exercise | Sets | Reps | Load | Units | RIR | Rest | Tonnage | Notes.
- Enter each working set as a new row: 2026-01-04, Back Squat, 1, 5, 200, lb, 2, 3:00, =C2D2E2, “felt smooth.”
- Drag-fill the tonnage formula down for every set.
- At the bottom, use =SUM() to total weekly tonnage per exercise.
- Build a simple line chart of weekly tonnage or best-set load to watch trends.
How to Log With a Workout App
Apps streamline the process by combining entry, timers, and analysis in one screen. Start a session, select your routine (or build one), then tap the exercise. Enter reps and load for set one, mark RIR, and hit save. The app auto-starts your rest timer. When it beeps, do set two. After the session, review your volume chart or PR summary. Most apps sync to the cloud, so your data survives a lost phone.
- Open the app and tap “Start Workout.”
- Select the pre-built routine or choose exercises manually.
- Complete set one, then tap the set row and enter “5 reps @ 200 lb, RIR 2.”
- The app starts a rest countdown (customizable, e.g., 3:00), rest until the timer beeps.
- Repeat for all sets. At session end, review auto-calculated tonnage and PR alerts.
Comparing Workout Logging Methods for Long-Term Progress

Each method has trade-offs. Notebooks are simple and require no tech, but you calculate tonnage by hand and you won’t get trend graphs without transferring data. Spreadsheets automate math and produce charts, but setup takes time and mobile entry is clunky. Apps offer the fastest real-time logging and instant analytics, but they lock you into a subscription or feature set. Pick the tool that matches your habits. If you love pen and paper, a notebook is fine. If you want zero friction and live charts, an app wins.
| Method | Advantages | Limitations |
|---|---|---|
| Notebook | Cheap, durable, no tech needed, full control over format | Manual calculations, no graphs, hard to search old entries |
| Spreadsheet | Auto-calc tonnage, custom charts, free, cloud backup | Slower mobile entry, requires setup and formula knowledge |
| App | Fastest logging, built-in timers, auto PRs, trend charts, reminders | Often subscription-based, less customization, vendor lock-in |
All three work. The best choice is the one you’ll actually use every session, because consistency beats features. If you skip logging for two weeks because your app crashed or your notebook stayed home, the method failed.
How to Benefit From Tracking Progress for Steady Gains

Logged data turns guesswork into decisions. Review your numbers every two to four weeks. Look at total weekly tonnage, average RIR, and whether your best sets are climbing. If tonnage is up 2–5% per month and RIR stays in the 1–3 range, you’re progressing. If numbers flatline for two or three weeks, it’s a signal. Check recovery (sleep, protein, stress), then adjust one variable: add five pounds, add one set, or shorten rest slightly. Use your PR log to set the next session’s load. If you hit 200 pounds for five reps last time, aim for 205 or try for six reps at 200.
Plan in mesocycles of four to six weeks, then schedule a deload week (drop volume by 40–50% or cut a couple of sets). Deloads prevent burnout and let your body consolidate gains. After the deload, return to your log, set new targets slightly above your pre-deload bests, and repeat the cycle. That rhythm keeps progress predictable and injuries rare. Push for four to six weeks, review trends, deload, push again. When you trust your data, you stop second-guessing mid-session and start following the plan that your own log proves works.
- Volume review: sum weekly sets × reps × load, aim for upward slope over four weeks
- RIR consistency checks: flag sessions where RIR jumps above target, may indicate fatigue
- Trend slope checks: graph best-set load or estimated 1RM, flat line for three weeks means intervention time
- PR comparisons: compare this mesocycle’s peak sets to last cycle’s, expect small improvements
- Rest-period audit: verify you’re actually resting the planned intervals, shorter rest inflates difficulty
- Recovery metrics: note weekly average bodyweight, sleep quality, and soreness to context-check performance dips
Final Words
Record each set—exercise, weight, reps, set type, RIR, and rest—right when you finish it. That one habit gives you clear volume, effort, and a way to push weight safely.
You’ve now seen simple notation, templates, spreadsheets, apps, pros and cons, and how to use logs to spot plateaus and plan mesocycles.
Start by logging one workout this week. tracking progress how to log sets reps and load for steady gains is a small habit that leads to steady, predictable wins.
FAQ
Q: What is the 3-3-3 rule for gym and the 3 3 3 rule for lifting?
A: The 3-3-3 rule for lifting means doing three sets of three reps (3×3) on main strength lifts, using heavy load and 2–3 minutes rest, increasing weight when you hit all reps.
Q: How to keep track of your reps and sets?
A: To keep track of reps and sets, log each set with exercise, weight, reps, set type, RIR (effort) and rest time—use a notebook, spreadsheet, or app for quick review.
Q: What is the 5 5 5 30 rule?
A: The 5‑5‑5‑30 rule typically means five sets of five reps with 30 seconds rest, used for short, intense strength or conditioning blocks; lengthen rest for heavier compound work.