
Think you need a giant machine to get a real, full-body cable workout at home?
You don’t.
If your bedroom or garage can’t handle a full rack, compact cable machines under 6 feet wide give nearly the same exercise variety without killing your floor space.
This short guide picks the best compact cable machines between $300 and $2,000, explains wall-mounted vs freestanding trade-offs, and tells you which model fits small rooms, heavy lifters, or renters.
Read on if you want a smart buy that actually fits your space.
Best Compact Cable Machines for Small Spaces (Quick Recommendations)
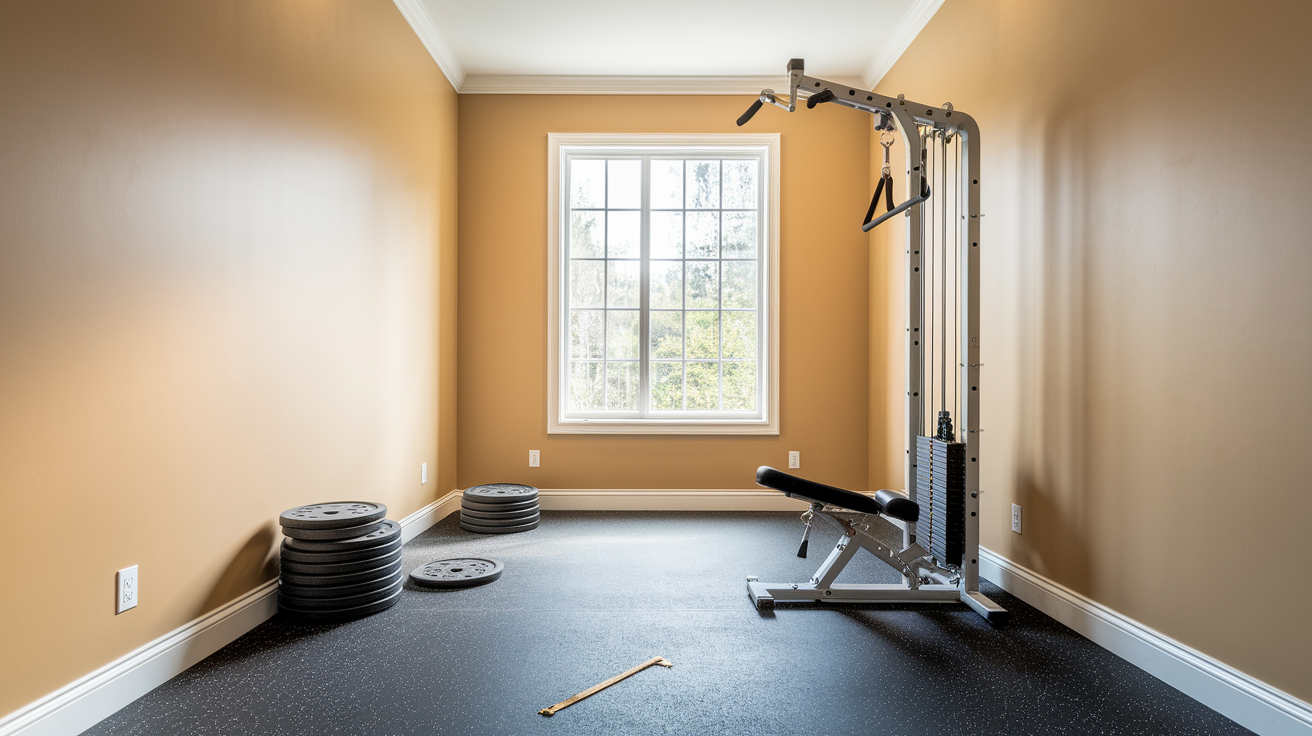
If you’re shopping for a compact cable machine that won’t swallow your bedroom or garage, you’ve got some solid options under 6 ft wide and priced between $300 and $2,000. These picks balance footprint, function, and build quality without the commercial gym budget.
Titan Fitness Wall-Mounted Pulley Tower sits 12 inches off the wall once installed. Plate-loaded system takes standard Olympic plates up to 300 lbs. Runs $300 to $500. Best if you’re working with serious space limits and can drill into studs.
PowerBlock Single-Stack Functional Trainer is 36 inches wide, 48 inches deep, 82 inches tall. Freestanding unit with a 160 lb selectorized stack (you can expand to 210 lbs). Costs $1,200 to $1,600. Works great for moderate spaces and quick weight changes.
REP Fitness Ares Compact measures 48 inches wide, 42 inches deep, 84 inches tall. Freestanding dual-pulley with 200 lb weight stacks per side. Priced $1,800 to $2,000. Built for heavier lifters who need stable bilateral work.
Valor Fitness BD-61 Wall-Mount Cable Station mounts to the wall at 18 inches depth. Plate-loaded, supports up to 250 lbs in plates. Costs $400 to $700. Compact dual-pulley design with adjustable height brackets.
Force USA MyRack Modular Cable Attachment bolts to your existing power rack and adds 24 inches of depth. Plate-loaded pulley accessory running $350 to $600. Only works if you already own a compatible rack.
Wall-mounted trainers like the Titan and Valor eat less than 2 ft of floor depth and basically disappear when you’re done. Perfect for a 10×10 bedroom or narrow garage bay. Freestanding units like the PowerBlock and REP need 4 to 6 ft of width and around 3 to 4 ft of depth, but they’re more stable and you skip the wall drilling. If your usable floor space is under 3 ft deep, go wall-mounted. If you’ve got 4 to 6 ft of width and want that commercial feel, freestanding single or dual stack trainers are worth the trade.
Comparing Wall-Mounted vs Freestanding Compact Cable Systems
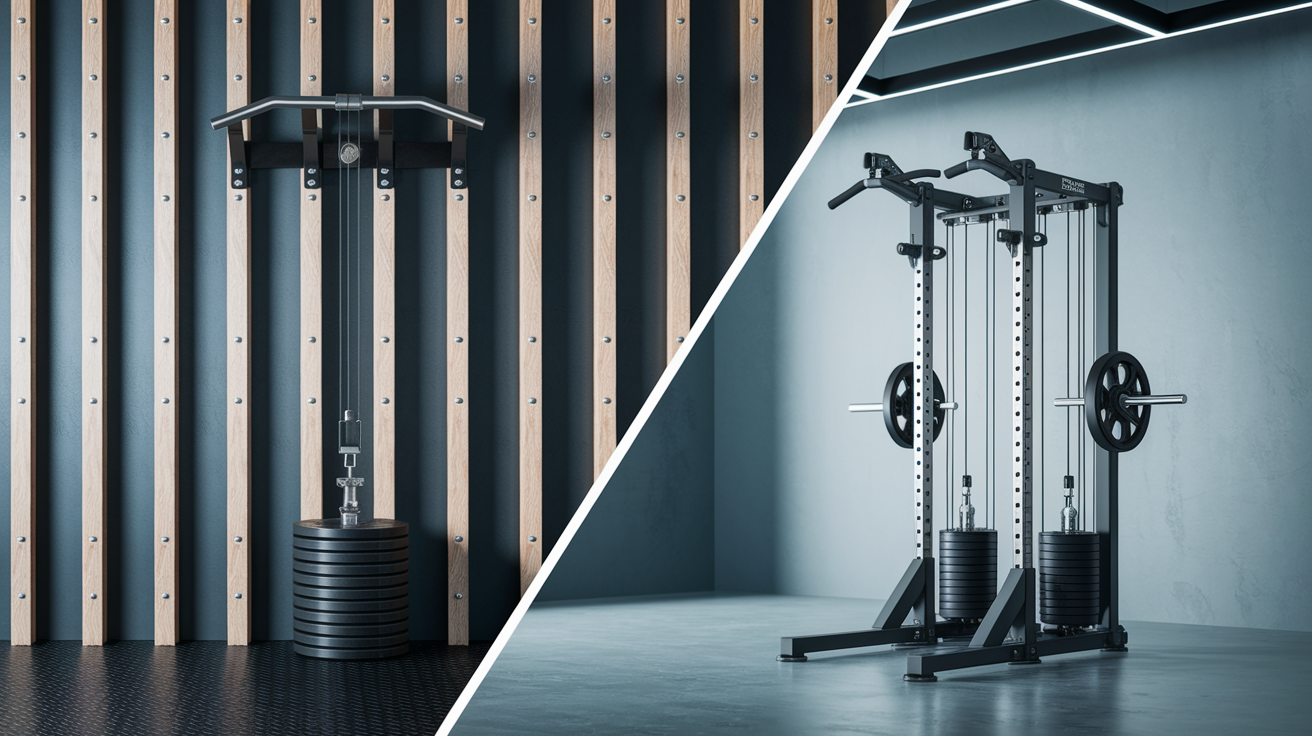
Wall-mounted cable machines bolt straight into wall studs or concrete and take up zero floor space beyond a small clearance zone. You need to hit at least two studs at 16 inches on center for safe installation. Drywall alone won’t hold 200+ lbs of resistance plus your body weight mid-row. Heavier wall units sometimes call for lag bolts or masonry anchors if you’re working with brick or concrete block. The upside is you get every inch of floor back. The downside is permanent holes and making sure your wall can actually handle the load. Most wall systems use plate-loaded designs, so resistance scales with whatever Olympic plates you slide on. But transitions between exercises are slower since you’re manually loading and unloading.
Freestanding compact trainers stand on their own base. No drilling required. They’re heavier (150 to 600 lbs depending on the model) and need 3 to 5 ft of depth, but that weight gives you rock-solid stability during heavy cable rows or single-arm presses. Selectorized weight stacks on freestanding units let you change resistance in seconds with a pin, which keeps your workout moving. Setup is simpler: unbox, bolt the uprights together, level the feet, start training. Main constraint is floor space. You’re dedicating a permanent 4×4 or 4×6 ft zone to the machine.
Torque ratio and resistance feel: Wall-mounted pulleys often run 1:1 ratios (each plate equals that weight at your hand), while some freestanding units use 2:1 ratios (a 100 lb stack feels like 50 lbs at the handle due to pulley mechanics). Always check the spec sheet.
Adjustability: Freestanding models typically offer more height positions (every 2 to 3 inches) on dual guide rods. Wall-mounted systems may have fixed or fewer adjustment points unless you buy premium rail kits.
Maintenance: Wall units need periodic cable and pulley checks. Freestanding stacks also require guide rod lubrication and pin inspections every few months.
Long-term durability: Freestanding machines with thicker gauge steel and sealed bearings outlast budget wall-mounted kits, but high-end wall systems with aircraft cable and sealed pulleys can match or exceed mid-tier freestanding trainers in lifespan.
Key Features to Evaluate Before Buying a Compact Cable Machine
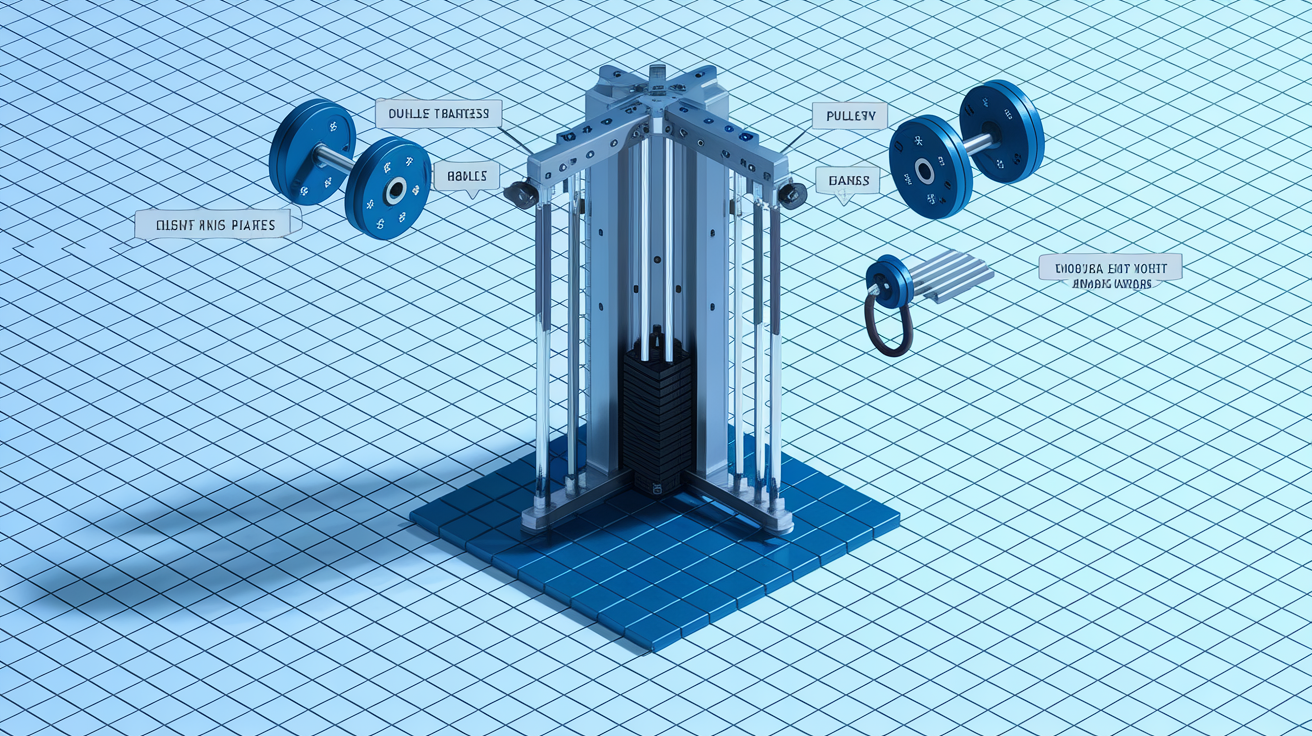
Load capacity is the first number to nail down. A 150 lb weight stack or plate capacity covers most beginners and intermediate lifters for bilateral rows, lat pulldowns, and triceps work. But if you’re already pulling bodyweight-plus on cable rows, look for 200+ lb stacks or plate-loaded systems that accept 300 to 400 lbs total. Pulley ratio matters. If the machine uses a 2:1 mechanical advantage, a 200 lb stack delivers 100 lbs of resistance at the handle. Don’t assume stack weight equals working load. Check the manufacturer’s spec for “resistance at handle” or “effective load” to avoid surprises on day one.
Pulley ratio and cable travel length directly shape exercise variety and range of motion. A 1:1 ratio gives you true one-to-one resistance (great for max strength work), while 2:1 ratios smooth out the pull and double your cable travel distance. That helps with longer ROM moves like full-extension flyes or deep squats with cable tension. Look for at least 60 to 72 inches of total cable travel per pulley if you’re taller than 6 ft or plan overhead presses and floor-to-ceiling movements. Shorter travel (under 48 inches) works fine for arm isolation and mid-height rows but limits functional patterns and athletic drills.
Handle and attachment compatibility can make or break your exercise library. Most machines include a straight bar, rope, and single D-handles. But verify whether the carabiner or pin system is universal (fits standard cable machine attachments) or proprietary (brand-specific only). If you want rotating handles, MAG grips, ankle cuffs, or a triceps V-bar down the road, confirm those accessories are available and check the attachment pin load rating. Cheap snap-links fail at 150 to 200 lbs and become a safety risk during heavy sets.
Footprint and wall clearance: Measure your available floor width and depth, then subtract 6 inches on each side for safe movement. If you have 5 ft of width, shop for machines under 4.5 ft wide to avoid cramped setup.
Cable travel and pulley adjustment range: Prioritize machines with 60+ inch travel and height adjustments every 2 to 3 inches for maximum exercise angles and ROM.
Included vs. add-on attachments: Budget models may ship with only 2 to 3 handles. Mid-tier units often include 5 to 8 attachments, saving you $100 to $200 in immediate accessory purchases.
Pros and Cons of Compact Cable Machines
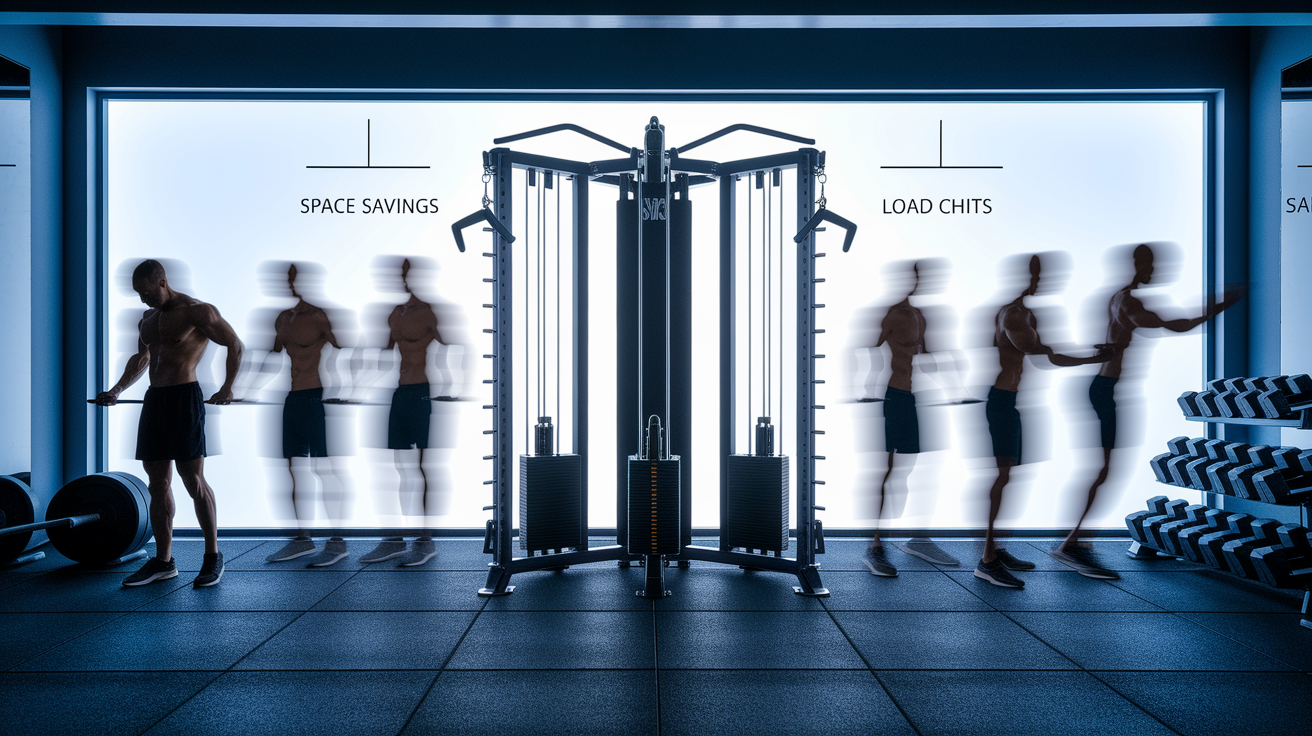
Compact cable machines pack full-body training into a footprint smaller than most dining tables. You can hit chest, back, shoulders, arms, legs, and core with one piece of equipment. That replaces the need for separate benches, barbells, and isolation machines if space or budget is tight. Adjustable pulley heights and dual-cable designs let you mimic dozens of free weight and machine movements. Cable flyes feel almost identical to dumbbell flyes, and low-to-high wood chops train rotation better than most barbell lifts. Safety is another win. There’s no spotter required, and if you lose control mid-rep, the weight stack or plates stay on the guide rods instead of crashing onto you.
The flip side is that compact units rarely offer the same max load or rock-solid feel as full-size commercial functional trainers. Budget and mid-tier models top out around 150 to 200 lbs per stack. That can limit progressive overload for advanced lifters, especially on bilateral rows, chest presses, or leg movements where you’d normally load 300+ lbs on a barbell. Wall-mounted systems require solid studs or masonry and permanent mounting holes, so renters or anyone without access to load-bearing walls may be stuck. Installation isn’t always plug-and-play. Expect 2 to 4 hours of assembly. Mistakes in leveling or cable routing can cause binding, uneven resistance, or premature wear.
Versatility trade-off: You gain dozens of exercises in one machine but lose the feel and feedback of dedicated free weights or single-purpose machines.
Load limits: Compact stacks and plate capacities suit 80 to 90% of home users but can bottleneck heavy squatters, rowers, or powerlifters within 6 to 12 months.
Adjustability constraints: Budget wall-mounted kits may offer only 3 to 5 height positions. Premium freestanding models deliver 15 to 20 increments but cost significantly more.
Space savings vs. stability: Ultra-compact and wall-mounted designs save floor space but can flex or wobble under max loads if not anchored correctly. Heavier freestanding units stay planted but claim more permanent real estate.
Installation Requirements and Safety Considerations
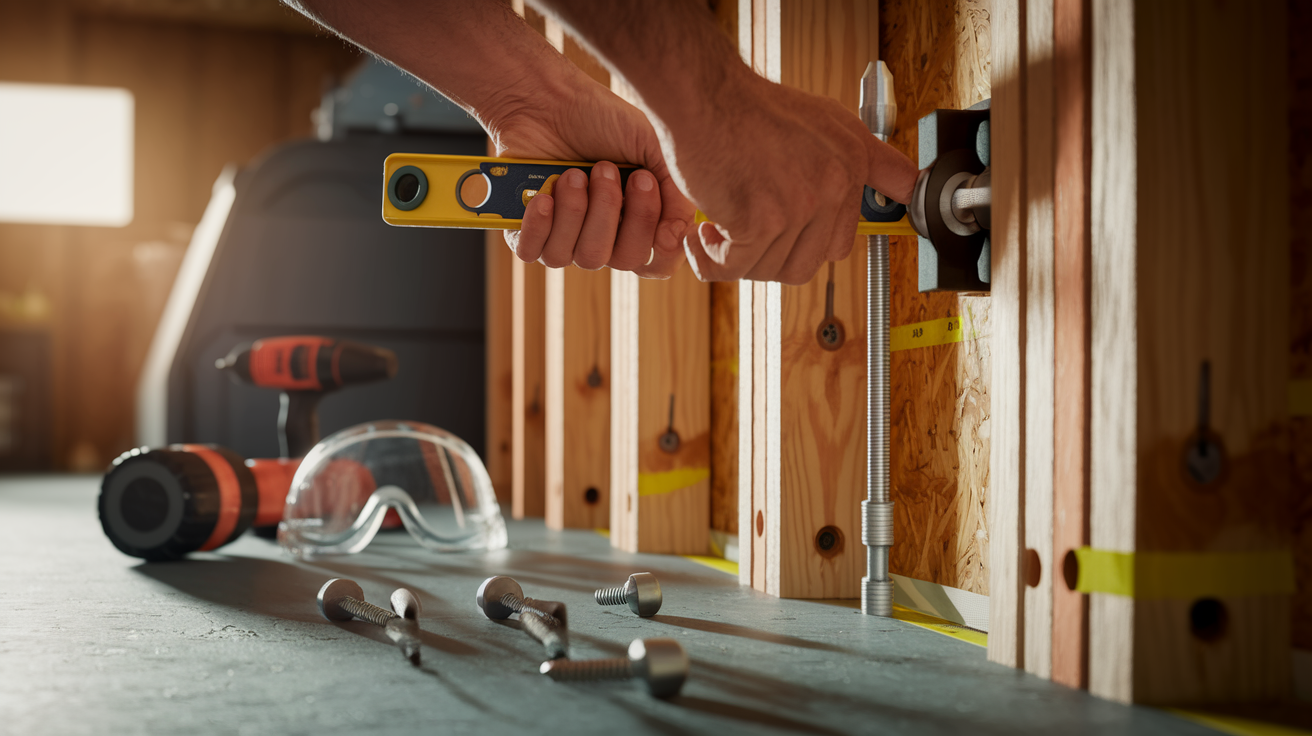
If you’re mounting a wall-based cable system, your first job is to locate studs spaced 16 inches on center and verify they’re solid wood or metal framing, not hollow drywall or thin furring strips. Use a stud finder and tap test, then pre-drill pilot holes and drive lag screws (typically 3/8-inch diameter, 3 to 4 inches long) through the mounting brackets into the studs. For concrete or brick walls, you’ll need masonry anchors rated for at least 500 lbs per anchor point and a hammer drill with the correct bit size. Never trust drywall anchors or toggle bolts for cable machines. Real loading will rip them out mid-set. Plan to install the top bracket first, hang the unit, then secure the bottom bracket while checking plumb with a level to prevent crooked cable paths and uneven resistance.
Ceiling height is non-negotiable for overhead cable work. Measure from your finished floor to the ceiling and ensure at least 84 inches (7 ft) of clearance. 90 inches (7.5 ft) is better if you’re taller or plan full overhead presses and lat pulldowns with extended arms. For freestanding units, confirm the machine’s total height plus any pulley arm extension won’t scrape the ceiling when adjusted to the highest position. Stability checks after assembly are critical. Load the machine to 75% of rated capacity and perform a slow cable row or chest press from each pulley height. Watch for frame flex, base lift, or cable skipping on the pulley wheels. If the base rocks or tips, add rubber anti-vibration pads or bolt the unit’s feet to a plywood platform anchored to the floor.
Leave at least 36 inches of open space in front of the machine for your stance and full range of motion, and another 24 inches on each side if you plan single-arm or crossover movements that require stepping laterally. Don’t jam the machine into a corner unless you’re only doing fixed-position exercises. You’ll quickly find moves like wood chops, crossover flyes, or rotational chops impossible without clearance. If children or pets share the space, consider a simple carabiner lock or pin-removal routine when the machine isn’t in use to prevent accidental weight stack drops or cable entanglement.
Warranty, Durability, and Long-Term Value
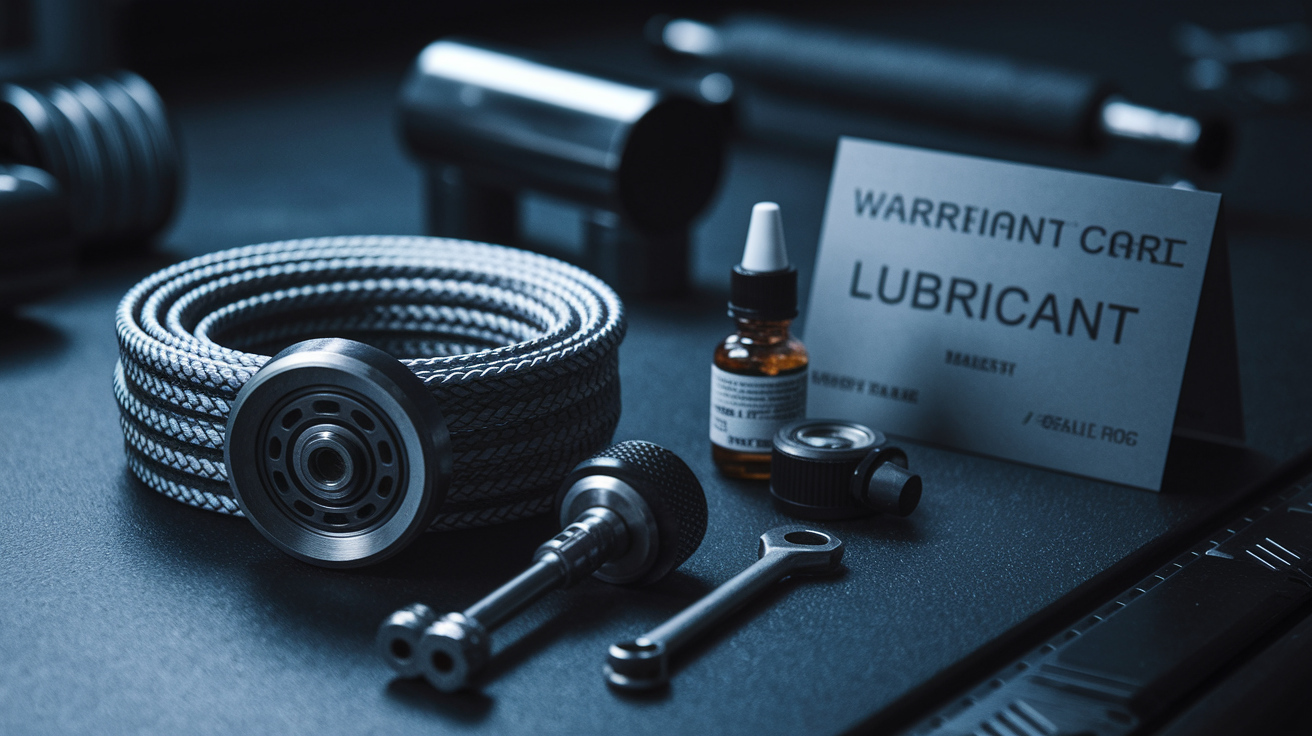
Entry-level compact cable machines typically ship with 1-year frame warranties and 90-day coverage on moving parts (cables, pulleys, pins, and bushings). Mid-tier models from established brands often bump that to 2 to 3 years on the frame and 1 year on components, which signals better steel quality and more confidence in the welds and powder coating. Premium functional trainers, especially those marketed for light-commercial or serious home use, may offer lifetime frame warranties and 5-year parts coverage. “Lifetime” usually means the original purchaser and excludes normal wear items like cables, grips, and bushings.
Cable replacement is the most common long-term maintenance task. Coated steel cables under regular home use (3 to 5 sessions per week) last roughly 3 to 5 years before fraying or stiffness appears. Replacement cables run $20 to $60 depending on length and coating. Swapping them takes about 30 minutes if you follow the manual’s re-threading steps. Pulley wheels and bearings can last 5 to 10 years if kept clean and lightly lubricated. But cheaper bushings on budget units may start squeaking or binding within 18 to 24 months, especially under heavy daily use. Upgrading to sealed-bearing pulleys is possible on some models and extends smooth operation significantly. Weight stack selector pins, guide rods, and upholstery see the most cosmetic wear. Expect to touch up scratches or replace pin clips every few years, but these are low-cost fixes that don’t affect function.
Space Planning for a Compact Home Gym Setup
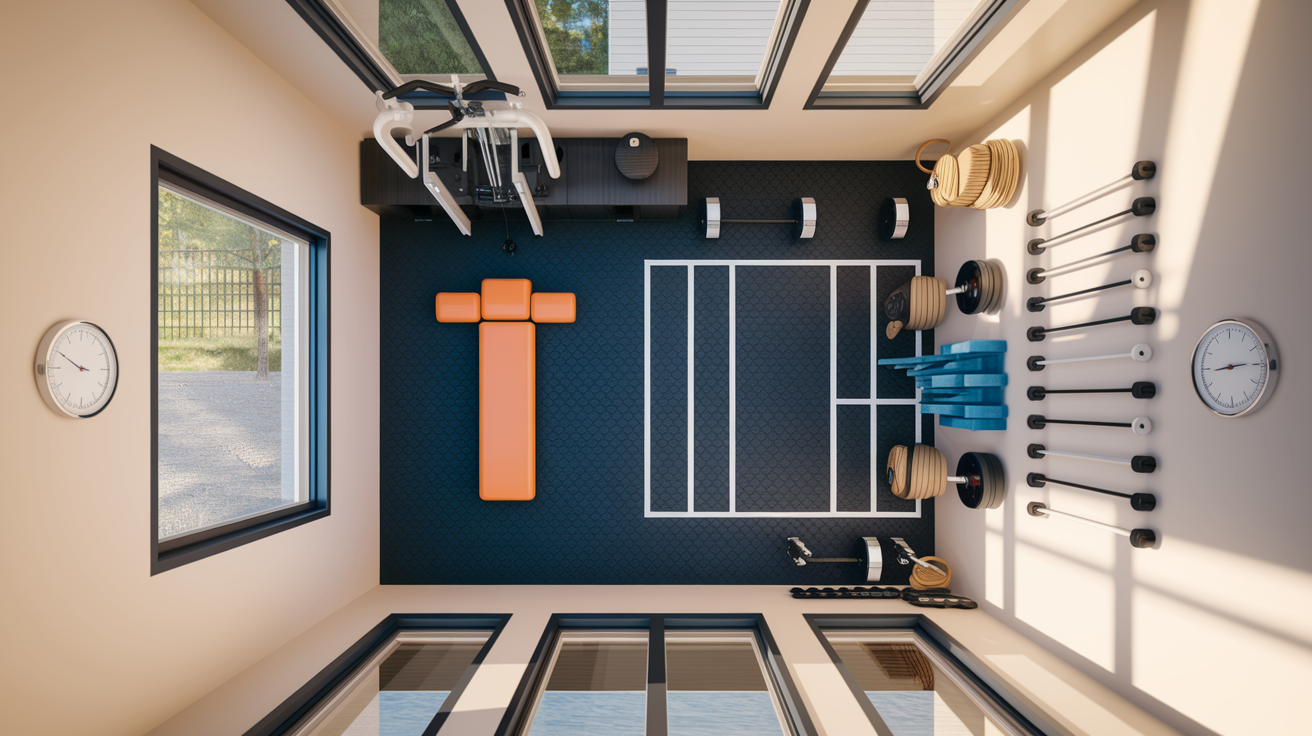
Most compact cable setups need a minimum 3 ft of depth (front to back) and 5 to 6 ft of width to accommodate the machine itself plus your body and movement patterns. Wall-mounted systems reduce floor depth to 12 to 24 inches when not in use, but you still need 3 to 4 ft of clear space in front during exercises. So your total “active” footprint is around 4 to 5 ft deep by 4 ft wide. Freestanding functional trainers claim a permanent 4×4 to 5×6 ft zone and won’t fold or tuck away, so plan that area as dedicated gym space.
Cable travel matters more than machine size for exercise variety. If your machine offers 72 inches of cable travel per side, you can perform full overhead presses, deep squats with constant tension, and floor-to-ceiling wood chops without running out of cable. Shorter travel (48 inches or less) works fine for biceps curls, triceps pushdowns, and seated rows but limits athletic movements and longer-limbed users. Add 6 to 12 inches of clearance around each pulley arm for accessory swaps and smooth cable angles. Jamming the machine against a side wall can force awkward hand positions and increase wear on the cable guides.
Store accessories within arm’s reach but off the floor to avoid tripping hazards. A simple wall-mounted pegboard or basket near the machine keeps bars, ropes, and handles organized and shortens transition time between exercises. If you’re mixing cable work with free weights or a bench, arrange equipment in a U-shape or L-shape so you can move between stations without stepping over plates or dodging cables mid-set.
| System Type | Width | Depth | Minimum Clearance |
|---|---|---|---|
| Wall-Mounted Pulley | 12–24 in (mounted strip) | 12–18 in when idle; 36–48 in active | 3 ft front, 2 ft each side |
| Slim Freestanding Single-Stack | 36–48 in | 36–48 in | 3 ft front, 2 ft each side |
| Compact Dual-Stack Functional Trainer | 48–72 in | 42–60 in | 4 ft front, 3 ft each side |
Final Words
We gave five quick recommendations, compared wall-mounted and freestanding options, and walked through key specs like pulley ratios, footprint, and weight stack vs plate-loaded setups.
You also got practical installation and safety tips (studs, ceiling height, anchoring), warranty expectations, and space-planning advice for very tight spots and moderate layouts.
Use the checklist to match features to your room and budget, then choose the best compact cable machine for home gym that fits your ceiling and training needs. Measure once, decide, and enjoy smarter, space-friendly workouts.
FAQ
Q: What should I look for when choosing the best compact cable machine for a small home gym?
A: When choosing the best compact cable machine for a small home gym, prioritize footprint under 6 ft wide, usable pulley height, max load that fits your goals, and whether you need wall-mounted or freestanding stability.
Q: How do wall-mounted and freestanding compact cable systems differ?
A: The difference between wall-mounted and freestanding compact cable systems is installation versus space: wall-mounted saves floor space but needs strong studs, while freestanding requires more depth but offers easier placement and stability.
Q: What key features should I evaluate before buying a compact cable machine?
A: The key features to evaluate are pulley height range, cable travel length, pulley ratio (1:1 vs 2:1), max load capacity, and attachment compatibility for handles, bars, and specialty grips.
Q: What are the installation and safety requirements for wall-mounted units?
A: The installation and safety requirements for wall-mounted units include mounting to 16-inch studs or concrete anchors, minimum ceiling height about 80–90 inches, and regular bolt and anchor checks for stability.
Q: Which compact cable machines fit extremely tight spaces (under 3 ft depth) versus moderate spaces (4–6 ft width)?
A: Compact cable machines that fit extremely tight spaces (under 3 ft depth) are slim wall-mounted or low-profile single-column trainers; moderate spaces (4–6 ft width) suit slim freestanding dual-pulley systems and compact functional trainers.
Q: Are compact cable machines suitable for heavier lifters?
A: Compact cable machines can work for heavier lifters, but many budget models limit load capacity; choose plate-loaded or premium trainers with higher max resistance and check torque ratios for true load feel.
Q: How does pulley ratio (1:1 vs 2:1) affect workout resistance?
A: Pulley ratio affects workout resistance by changing effective load: a 1:1 ratio delivers direct weight, while a 2:1 ratio halves required weight, letting smaller stacks feel heavier without adding plates.
Q: Should I pick a weight stack or plate-loaded compact trainer?
A: Choosing weight stack or plate-loaded depends on convenience versus max load: weight stacks are user-friendly and compact; plate-loaded usually costs less and offers higher resistance for stronger lifters.
Q: What warranty and long-term maintenance costs should I expect?
A: Expect mid-tier compact machines to have 1–3 year warranties, premium frames with lifetime coverage, cable replacement every 3–5 years, and occasional pulley lubrication and bolt tightening costs.
Q: How much floor and clearance space do I need for a compact home gym setup?
A: For a compact home gym setup, plan minimum 3 ft depth and 5–6 ft width, with 6–7 ft vertical cable travel clearance and extra room for movement and accessories around the unit.

