Featured
Exercise Substitutions for Common Injuries and Limitations: Safe Alternatives by Body Region
By cindymellow
September 12, 2026
Field Notes
What if you could keep training with an injured joint without making it worse?
You don’t have to stop lifting just because one movement hurts.
This post gives clear, practical swaps and simple rules you can use right away.
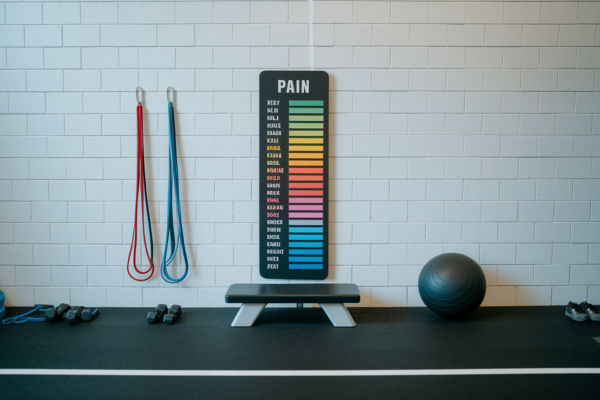
Use the 0-10 pain scale, make one change at a time, and test a set or two to confirm it helps.
You’ll get safe alternatives by body region: knees, hips, ankles, shoulders, elbows, wrists, and low back, so you can stay consistent while the injured tissue heals.
Key Exercise Substitution Principles for Fast, Safe Decision‑Making
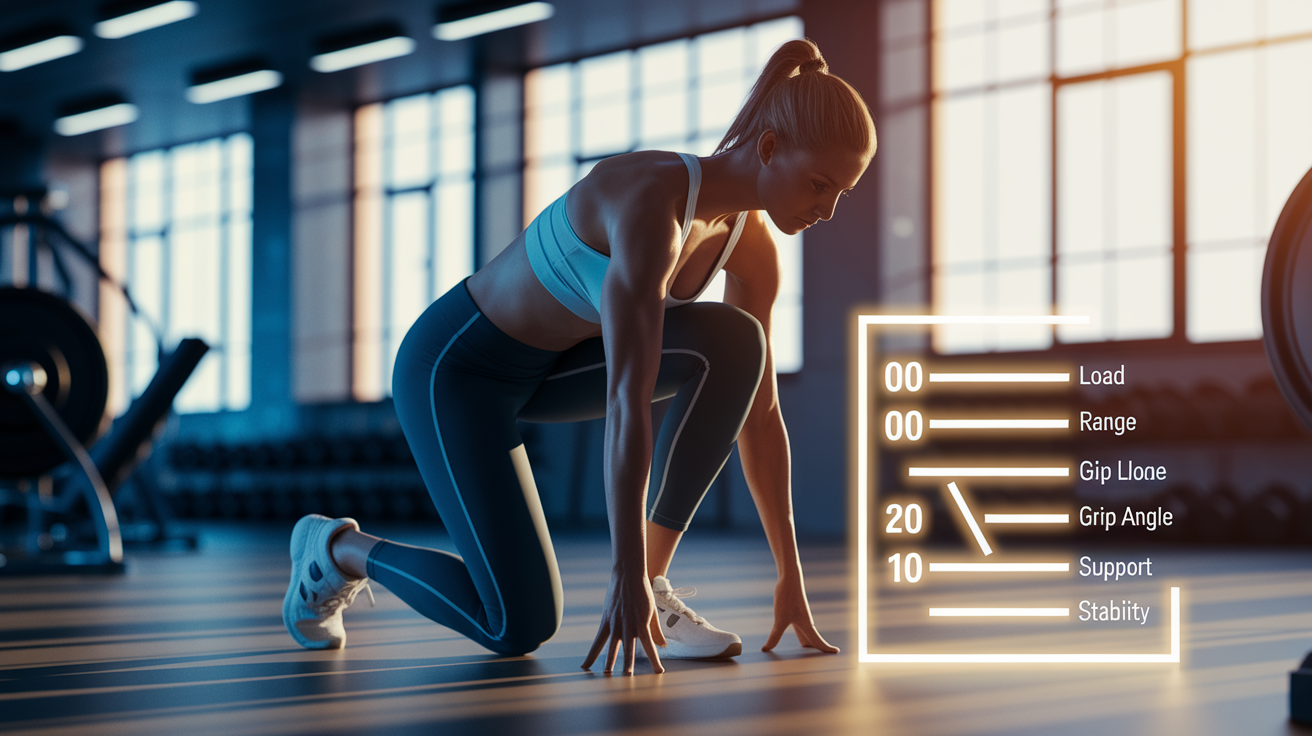
The most reliable way to figure out if you need to swap a movement is simple: use a 0–10 pain scale during and right after the exercise. If pain jumps more than 2 points during a set, or climbs above 3–4 at any moment, stop. Choose something gentler or switch movements entirely. This works across every joint and injury type because it respects where your body’s at right now without making you guess if soreness is normal or a warning sign.
Global substitution strategies work because joints respond to the same mechanical stressors. Compression, shear, tension, load magnitude. It doesn’t matter if it’s your shoulder, knee, or low back. By tweaking one or more of these variables, you can keep training the same muscle groups and movement patterns while giving the irritated tissue a break. Reducing the weight lowers compressive force. Shortening range of motion decreases stress at end ranges where tissues are most vulnerable. Shifting your grip angle or foot position redistributes load away from the painful structure.
The beauty here is that these rules stack. You can reduce load and shorten ROM at the same time. Add external support while choosing a lower-impact variation. The key is to make one change at a time, test it for a set or two, and use the pain scale to confirm the substitution actually helps. If pain stays below 3/10 and doesn’t spike during the movement, you’ve found a safe alternative you can use until the original exercise feels manageable again.
Universal substitution principles that work across all injuries:
Reduce load: Drop the weight by 20–50% to decrease joint stress. When your knee flares up, swap heavy back squats for goblet squats with a light kettlebell.
Shorten range of motion: Limit the depth or angle of a movement to avoid irritated ranges. Stop your shoulder press a few inches short of full lockout if overhead position hurts.
Shift grip or stance: Modify hand position, foot width, or bar placement to offload the painful joint. Use a neutral-grip dumbbell instead of a straight barbell to take pressure off your wrists.
Use supported variations: Add a bench, box, machine, or stability aid to reduce balance demands and joint load. Switch to single-leg hip thrusts with your back on a bench instead of free-standing lunges.
Choose low-impact alternatives: Replace high-impact or pounding movements with joint-friendly cardio or controlled strength work. Swap running for cycling or pool walking to protect an ankle sprain.
Prioritize stability first: Select exercises with a stable base and predictable movement path before progressing to complex, multi-joint patterns. Use a trap-bar deadlift or hip hinge to a box instead of a conventional deadlift if your low back is sensitive.
Exercise Substitutions for Knee, Hip and Ankle Limitations
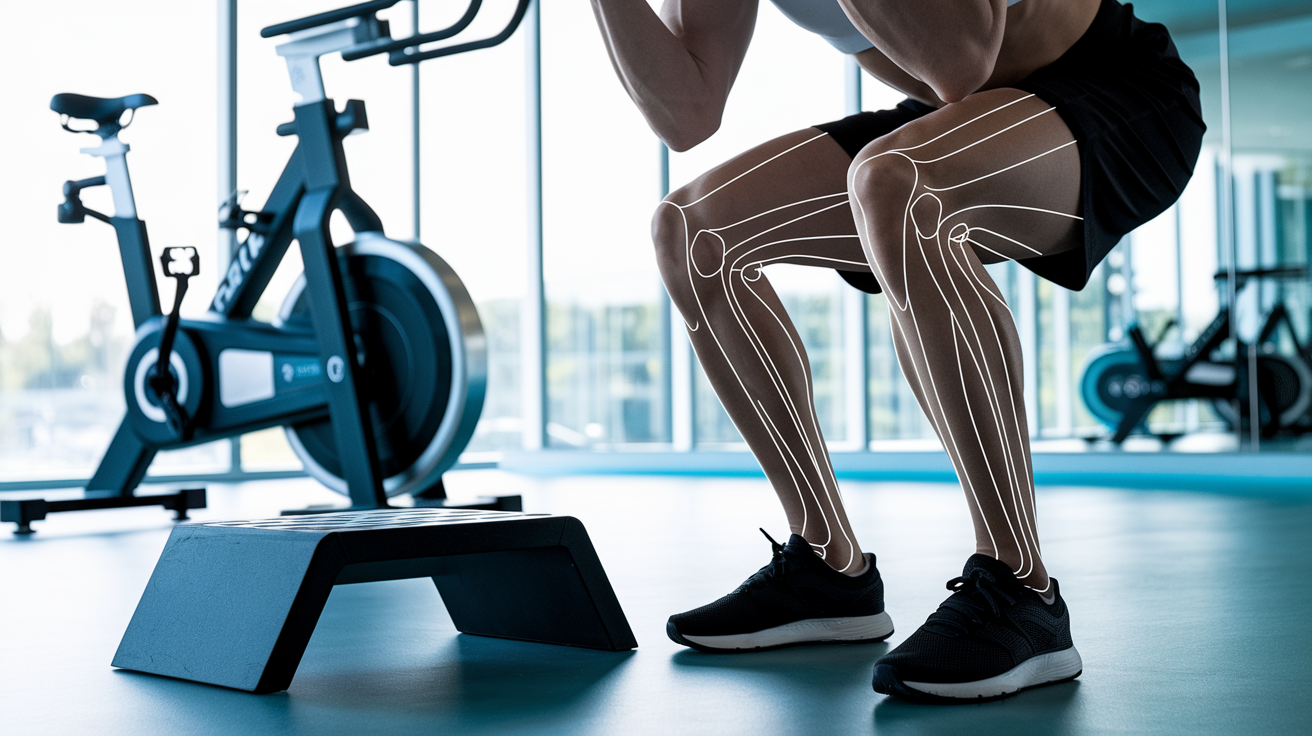
Knee pain often shows up during deep squats, lunges, running, and movements that load the joint under flexion. The safest first step is to replace high-impact cardio with options that keep your feet in contact with a surface or remove weight-bearing entirely. Cycling, the elliptical, and pool running or walking work well for 20–45 minutes per session, 3–5 times per week, at a moderate effort level around RPE 4–6.
For strength work, swap deep back squats for box squats or goblet squats where you sit back onto a box height of 30–45 cm, controlling the descent and pausing lightly before standing. This reduces the compressive and shear forces at the bottom of the squat while still training your quads, glutes, and hamstrings. Start with 2 sets of 8–12 reps using a light load, and only increase the weight by 5–10% per week if you stay pain-free. Low step-ups onto a 10–20 cm platform are another solid option. Perform 2–3 sets of 8–12 reps per leg, and gradually raise the box height as tolerance improves.
To build posterior chain strength without stressing the knee, prioritize glute bridges and single-leg bridges for 3 sets of 8–15 reps. These movements offload the knee entirely while strengthening the muscles that support and stabilize it.
Hip limitations, whether from osteoarthritis, labral issues, or post-surgical recovery, often make lunging, deep squatting, and impact cardio uncomfortable. Substitute lunges with glute bridges, side-lying hip abductions, clamshells, and controlled hip hinge variations that let you work the glutes and hip stabilizers without forcing the joint into aggravating ranges. If you have hip osteoarthritis, aim for 20–30 minutes of low-impact cardio like cycling or swimming, combined with 2–3 strength sessions per week that focus on glute medius and minimus activation. These smaller stabilizer muscles help control hip alignment and reduce compensatory stress on the joint. For groin or adductor strains, avoid wide-stance or lateral movements early in recovery. Instead use bilateral hip thrusts and supported single-leg work that you can control from start to finish.
Ankle and foot injuries, including sprains, tendonitis, and stress reactions, require you to minimize or eliminate weight-bearing load during the acute phase. Replace running, jumping, and standing lower-body work with seated or recumbent cardio like cycling, rowing, or upper-body ergometer sessions. For calf and ankle strengthening, use seated calf raises for 2–3 sets of 8–15 reps, which train the muscle without overloading the injured joint. Partial single-leg balance holds for 30–60 seconds, performed near a wall for safety, help restore proprioception and stability as healing progresses. Progressive heel-rise sets, where you slowly lift onto your toes and lower back down, can be added once you’re able to bear weight without sharp pain. Start with both feet on the ground, then advance to single-leg variations only after you can complete 3 sets of 15 reps pain-free on two legs.
Shoulder, Elbow and Wrist-Friendly Exercise Substitutions
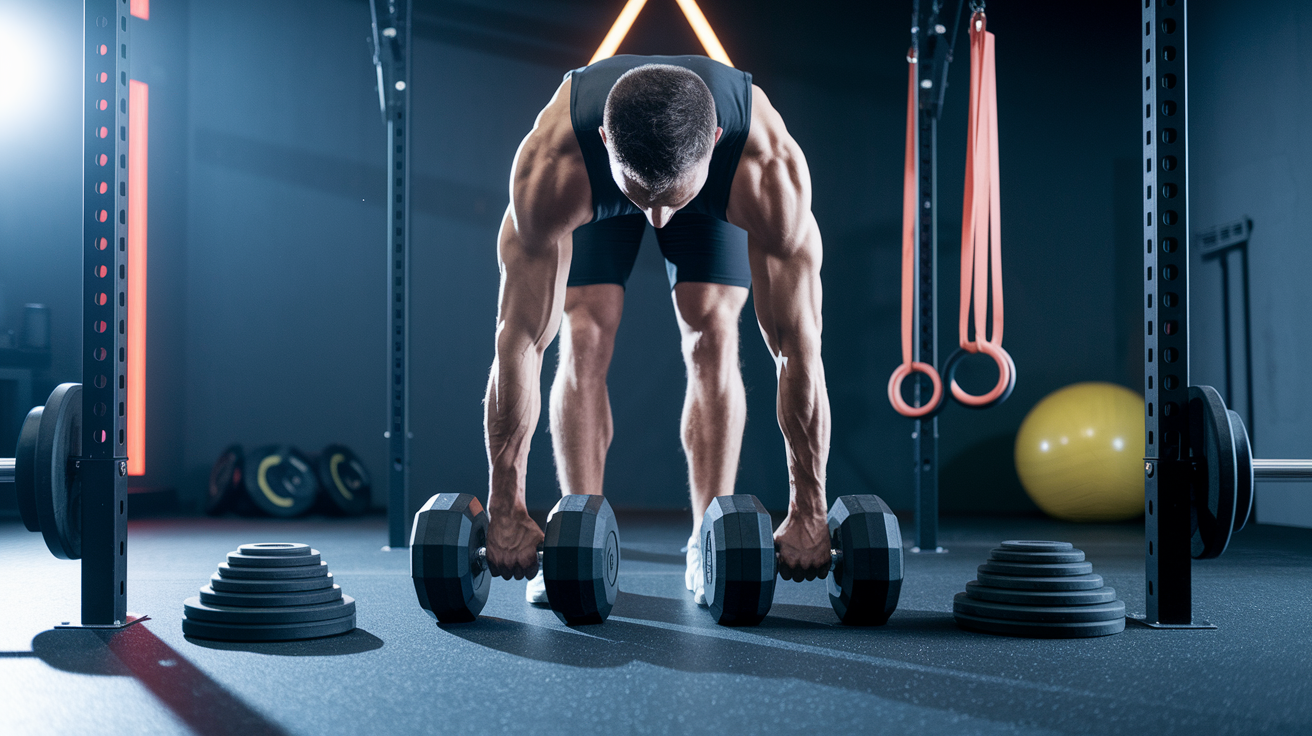
Shoulder pain during pressing, pulling, or overhead movements is often driven by impingement, rotator cuff irritation, or poor scapular control. The angle of your shoulder and the position of your hand on the bar directly influence how much stress lands on vulnerable structures inside the joint. Neutral-grip positions, where your palms face each other instead of pronating forward or back, tend to keep the shoulder in a more centred, stable position and reduce impingement risk.
If standard push-ups or bench presses hurt, start with wall push-ups and progress through incline push-ups on a bench or box, then push-ups on your knees, and finally to the floor. Each step reduces the percentage of bodyweight you’re pushing and gives you a smaller range of motion to work within. Neutral-grip dumbbell floor presses are another excellent substitute because the floor limits how far back your elbows can travel, protecting the shoulder from end-range stress. Use light weights for 2–4 sets of 6–12 reps and only add load when you can complete all reps without pain rising above 3 out of 10.
Overhead pressing with a barbell is one of the most common shoulder aggravators. If you have impingement or rotator cuff sensitivity, swap the overhead barbell press for a seated single-arm neutral-grip dumbbell press or a landmine press, where the bar travels at an angle rather than straight overhead. Both options let you keep your shoulder in a safer, less irritating range while still building pressing strength. For pulling movements, replace heavy barbell rows or wide-grip pulldowns with banded rows using a neutral or underhand grip, which tends to be gentler on the shoulder joint and allows better scapular movement. TRX or suspension trainer rows work well too because you can adjust the angle and load by changing your body position, making it easy to find a pain-free range.
To directly strengthen the rotator cuff and improve shoulder stability, add banded or light dumbbell external rotations for 2–3 sets of 10–20 reps, and include scapular control drills like scapular retractions and protractions for 2–4 sets of 10–20 reps.
Upper-body substitutions for wrist and elbow pain:
Use neutral-grip dumbbells instead of a straight barbell for bench press to keep wrists in a natural, stress-free position.
Swap overhead barbell press for landmine press, which reduces the demand for extreme shoulder flexion and wrist extension.
Replace heavy cable rows with banded rows that let you adjust resistance and grip angle without gripping a rigid handle.
Perform push-ups on parallettes or hexagon dumbbells to keep your wrists straight rather than extended, protecting the joint from compression.
Choose floor press over full range-of-motion bench press to limit how far your elbows drop and reduce shoulder and wrist strain at the bottom.
Low-Back and Core-Safe Alternatives to Reduce Spinal Stress
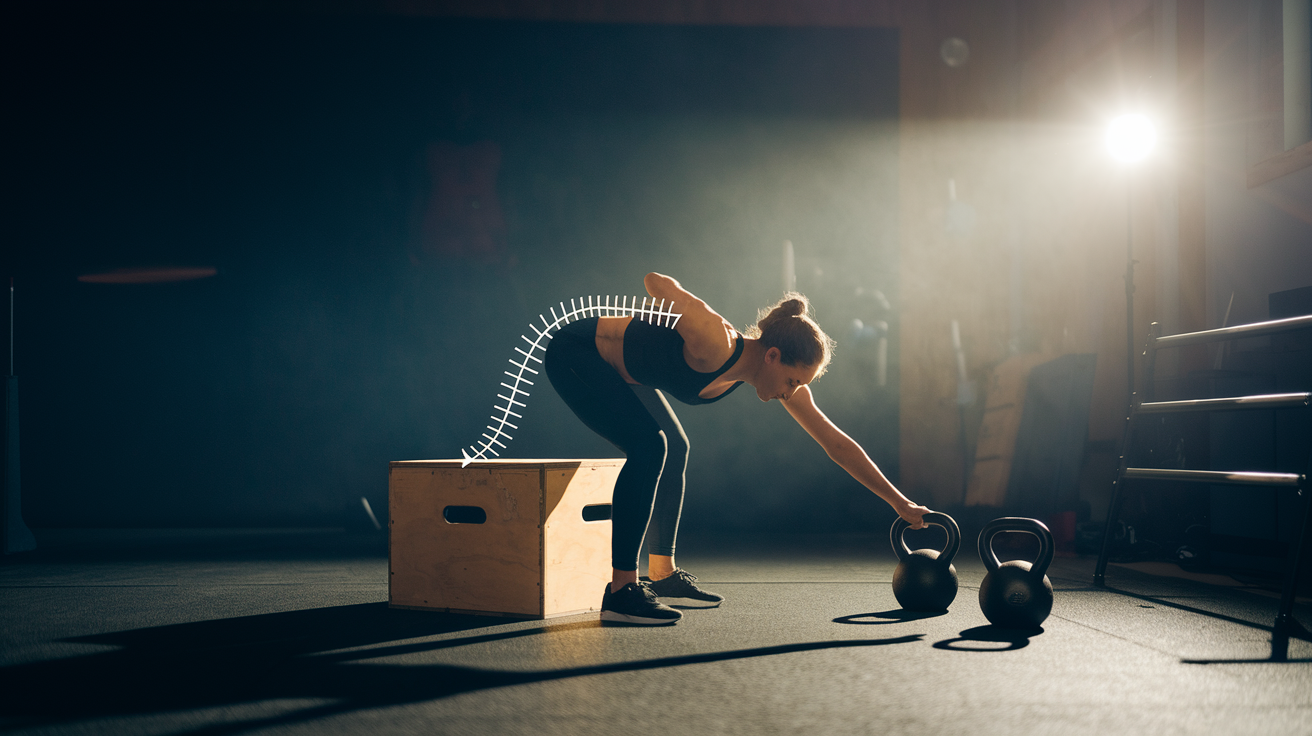
Low-back pain is one of the most common reasons people need to modify their training, and the key distinction is between hinge-based movements, which load the hips and posterior chain, and flexion-based movements, which load the spine directly. Hinge regressions, like hip hinging to an elevated surface, kettlebell Romanian deadlifts, and trap-bar deadlifts, let you train the glutes, hamstrings, and erectors while reducing shear forces on the lumbar spine.
If conventional deadlifts cause pain, start by hinging to a box or bench set at knee-to-mid-thigh height, lightly tapping it with your hips before standing back up. This teaches the hinge pattern, gives you a clear depth target, and prevents you from rounding your low back at the bottom. Kettlebell Romanian deadlifts with a moderate load, performed for 2–3 sets of 8–12 reps, are another excellent choice because the weight stays closer to your center of mass and the movement naturally limits how deep you can go. Trap-bar deadlifts reduce forward lean and spinal shear compared to a straight barbell, making them a safer option for people returning from low-back flare-ups.
Core stability progressions replace high-risk, flexion-heavy exercises like sit-ups, crunches, and loaded spinal twists. Bird-dog, dead-bug, and half-plank variations train the muscles that stabilize your spine without forcing it into repeated bending or rotation. Start with 2 sets of 10–20 second holds for each exercise, focusing on keeping your low back neutral and your core engaged. As tolerance improves, progress to 3–4 sets of 30–60 second holds.
Pallof presses, where you resist rotation by holding a band or cable at chest height, are particularly effective for building anti-rotation strength. Perform 2–3 sets of 8–12 reps per side, keeping your torso still and only moving your arms. Glute bridges and hip thrusts are also core-safe because they strengthen the glutes and hamstrings, which support the pelvis and reduce low-back compensation, without loading the spine in flexion.
During the first 48–72 hours of an acute low-back flare, avoid exercises that require you to bend forward, twist under load, or hold weight in a flexed spinal position. This includes movements like heavy squats with a forward lean, conventional deadlifts, loaded twisting exercises, and sit-ups. Instead, focus on gentle mobility work, short walks if tolerable, and isometric holds like glute bridges and planks that you can perform without pain.
Once the sharp pain decreases, reintroduce low-load hinge movements and core stability drills, keeping all reps well below a 3 out of 10 pain level. Increase load by only 5–10% per week and prioritize movement quality over the amount of weight on the bar. If pain persists beyond a few weeks, worsens, or includes numbness, tingling, or leg weakness, seek evaluation from a physical therapist or sports medicine clinician before continuing to load the spine.
Low-Impact Cardio Replacements for Injury and Mobility Limitations
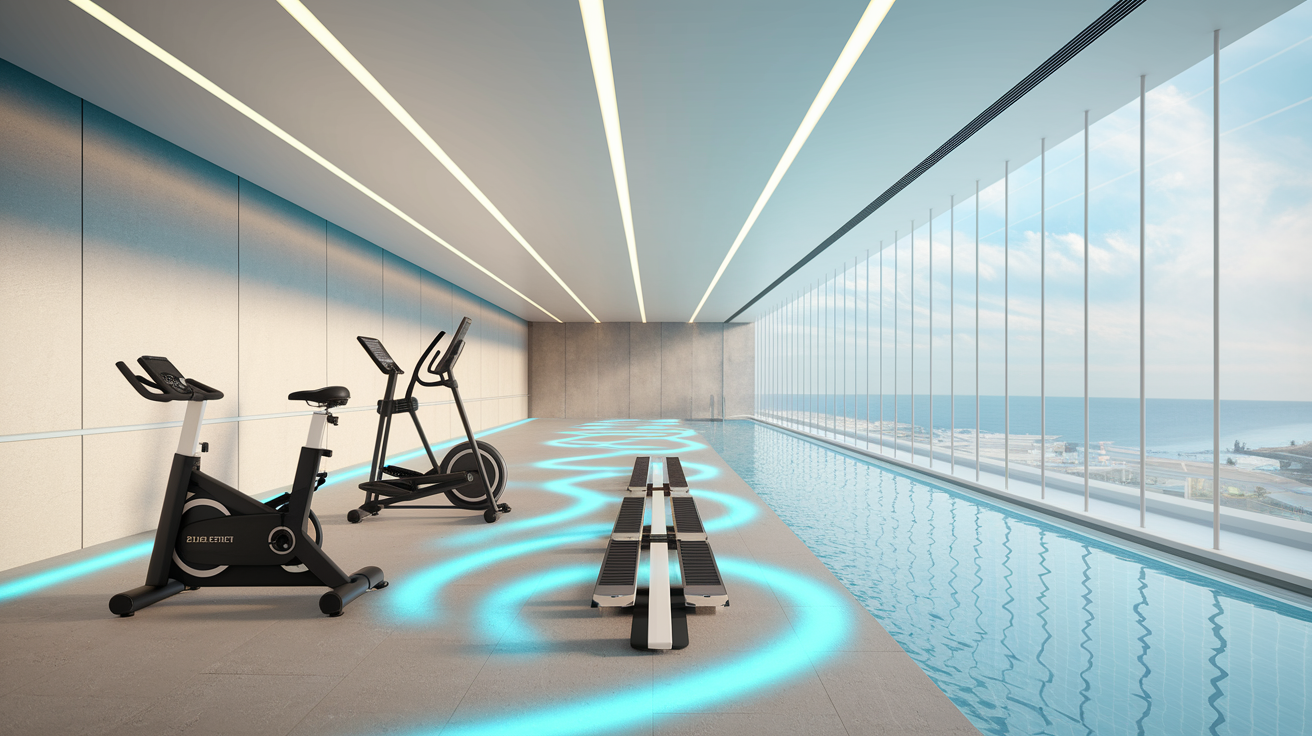
High-impact cardio like running, jumping, and plyometric circuits can be difficult or impossible to tolerate when you’re managing joint pain, bone stress injuries, or systemic conditions like arthritis. The four most accessible and effective low-impact cardio substitutions are the recumbent bike, elliptical trainer, rowing machine, and pool walking or aqua running. Each option lets you maintain or build cardiovascular fitness and burn calories without the repetitive pounding that aggravates knees, hips, ankles, and the low back.
Recumbent bikes provide back support and remove the need to stabilize your torso, making them ideal for people with low-back pain or hip limitations. Sessions typically last 20–60 minutes at a moderate effort level, around RPE 4–6 on a 1–10 scale. You can add intervals in later weeks by alternating 2–4 minutes at RPE 6–7 with 2–3 minutes of easy spinning.
Elliptical trainers simulate running and walking motion but keep your feet in contact with the pedals at all times, eliminating ground impact. Most machines let you adjust speed and incline, and many include moving handlebars that engage your upper body. Aim for 20–40 minutes per session, adjusting resistance and incline to match your fitness level.
Rowing machines offer a full-body cardiovascular and strength challenge with minimal joint stress, as long as you use proper technique. Start with 10–30 minute sessions, focusing on controlled intervals like 500 meters of work followed by 1–2 minutes of rest, repeated 4–6 times.
Pool walking and aqua running provide zero-impact cardio because the buoyancy of the water offloads your joints completely. Sessions of 20–45 minutes are effective for maintaining endurance, and many community pools offer drop-in access for $3–10 per visit, making this one of the most affordable low-impact options.
| Cardio Option | Typical Duration | Impact Level | Typical Home Cost |
|---|---|---|---|
| Recumbent Bike | 20–60 minutes | Zero impact | $300–$1,000 |
| Elliptical Trainer | 20–40 minutes | Very low impact | $200–$800 |
| Rowing Machine | 10–30 minutes | Zero impact | $300–$1,200 |
| Pool Walking / Aqua Running | 20–45 minutes | Zero impact | $3–$10 per visit (community pool) |
Exercise Substitutions for Seniors, Arthritis and Chronic Pain

Training with arthritis, age-related joint changes, or chronic pain conditions requires a shift in how you think about frequency, intensity, and exercise selection. Instead of chasing heavy weights or high-volume sessions, the goal is to move often, keep joints mobile, and build strength gradually without triggering prolonged flare-ups. Research and clinical guidelines suggest that older adults and people with arthritis benefit most from 2–4 short strength sessions per week, combined with 10–30 minutes of gentle mobility work on most days. This frequent, lower-intensity approach keeps joints lubricated, maintains muscle mass, and improves balance without overloading sensitive tissues.
Joint-friendly strength substitutions emphasize machines, resistance bands, and bodyweight exercises that provide external support and let you control range of motion precisely. Replace free-weight squats with leg presses or wall sits if standing balance is an issue. Swap dumbbell overhead presses for seated machine presses that stabilize your torso and reduce the need for core bracing. Use resistance bands for upper-body pulling and pushing movements because they provide adjustable load without the grip demands of heavy dumbbells.
For lower-body work, include clamshells, side-lying hip abductions, and glute bridges, all of which strengthen the hips and glutes without compressing the knees. Start with 2 sets of 8–12 reps at a light to moderate resistance, and increase load by only 5–10% every 2–4 weeks, or add one additional set before increasing weight. The slower progression timeline gives connective tissues time to adapt and reduces the risk of post-workout soreness that lasts for days.
PNF stretching, which stands for proprioceptive neuromuscular facilitation, uses a contract-relax technique to improve flexibility safely. To perform a PNF stretch, move into a gentle stretch position, contract the muscle for 5–10 seconds without moving, then relax and ease a bit deeper into the stretch. Repeat this cycle 3–4 times, holding the final stretch for 10–30 seconds. This method is particularly effective for tight hips, shoulders, and hamstrings.
Balance drills are equally important for fall prevention and joint stability. Single-leg stands for 20–60 seconds, performed near a wall or sturdy surface, should be included 2–3 times per week. Progress by closing your eyes, standing on an unstable surface like a folded towel, or adding a small weight in one hand. These drills strengthen the small stabilizer muscles around the ankles, knees, and hips, which are often weak in older adults and people with chronic joint pain.
Pregnancy and Postpartum Exercise Substitution Guidelines
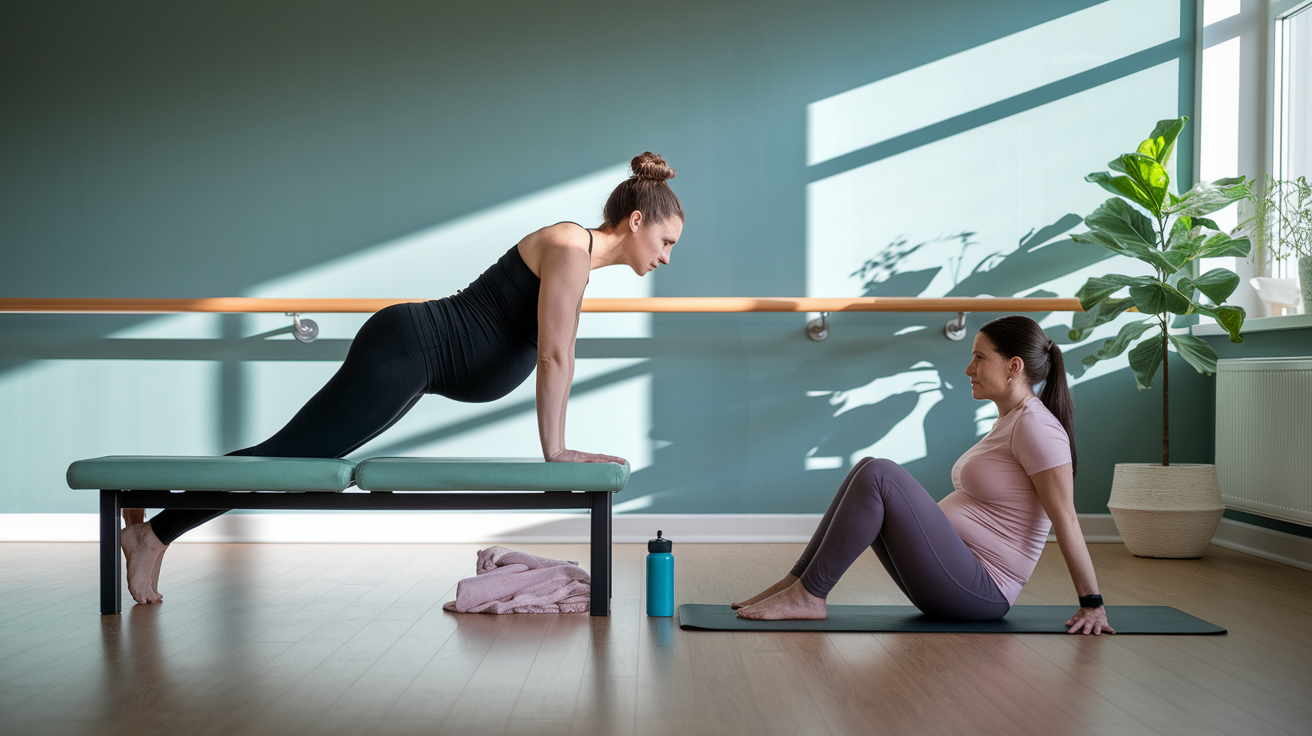
Pregnancy and the postpartum period require careful attention to core pressure management, pelvic floor health, and joint stability. As the body changes, exercises that were once comfortable may cause pain, pressure, or compensatory movement patterns that increase injury risk. The safest approach is to prioritize low-impact cardio, reduce load on compound lifts, and avoid movements that place excessive intra-abdominal pressure or end-range twisting forces on the spine and pelvis. Substitutions should emphasize stability, control, and exercises that can be scaled easily as strength and tolerance fluctuate week to week.
For cardio, replace running and high-impact classes with pool walking, recumbent cycling, or the elliptical, all of which support cardiovascular fitness without pounding the pelvic floor or aggravating pubic symphysis pain. Walking on flat terrain at a moderate pace for 20–40 minutes is also effective and can be done daily if tolerated.
For strength training, swap barbell squats and deadlifts for machine-based leg presses, goblet squats to a box, or supported split squats where one hand rests on a wall or rack for balance. Use neutral-grip dumbbells for upper-body pressing instead of barbells, and replace floor push-ups with incline push-ups on a bench or countertop to reduce pressure on the abdominal wall.
Core work should shift away from crunches, sit-ups, and planks held for long durations. Instead, use bird-dog holds, side-lying hip abductions, and modified dead-bugs with bent knees and small, controlled movements. If you notice doming, bulging, or a gap down the center of your abdomen during any exercise, stop and regress to a less challenging variation.
Postpartum, the same principles apply. Rebuild core and pelvic floor strength slowly, starting with breathing exercises, gentle glute bridges, and supported bodyweight movements before adding load. Always consult with a pelvic floor physical therapist if you experience leaking, pelvic pain, or pressure during or after exercise.
Practical Equipment-Based Substitutions for Injury-Friendly Training
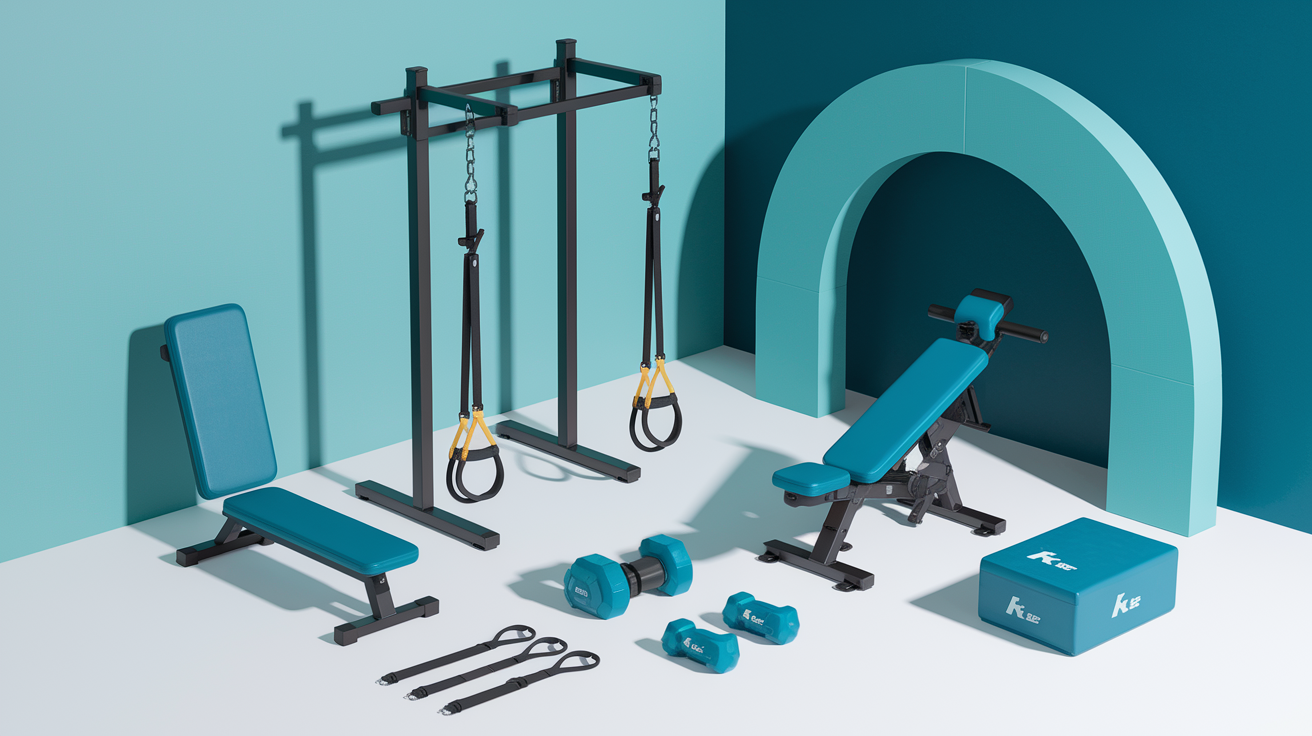
When pain or mobility limitations make it difficult to use barbells, heavy dumbbells, or certain machines, you can often find an equipment-based substitution that achieves the same training effect with less joint stress. The key is to match the resistance type and stability level to your current tolerance. Resistance bands, machines, suspension trainers, and grip aids like straps all let you modify load, range of motion, and the demands placed on vulnerable joints without abandoning the movement pattern entirely.
Resistance bands are one of the most versatile tools for injury-friendly training because they provide variable resistance that increases as the band stretches, which often matches your strength curve better than a fixed weight. Bands cost $10–30 each, depending on thickness and resistance level, and can replace free weights for pressing, pulling, and lower-body work. Banded chest presses performed while lying on a bench or standing can substitute for dumbbell or barbell bench press if shoulder or wrist pain makes gripping heavy weights uncomfortable. Banded rows let you adjust the angle and resistance by changing your distance from the anchor point, and they’re easier on the elbows and wrists than heavy cable or dumbbell rows.
Machines reduce shear forces and provide external support, making them ideal for people returning from injury or managing chronic joint pain. A leg press machine offloads the spine compared to a back squat, and a chest press machine stabilizes your shoulder blades and lets you push without the balance demands of free weights.
Equipment-based substitutions for injury-friendly training:
Use resistance bands to replace free weights for pressing, pulling, and lower-body exercises, reducing grip load and joint compression.
Choose machine-based movements instead of barbell or dumbbell lifts to provide external stability and eliminate balance demands.
Add a suspension trainer like TRX to reduce bodyweight load by 20–50%, making push-ups, rows, and squats more accessible.
Use lifting straps for pulling movements if grip strength or wrist pain limits your ability to hold heavy weights safely.
Keep an adjustable box or bench nearby to control range of motion for squats, step-ups, and pressing movements, stopping at a height that stays pain-free.
How to Program Workout Substitutions Safely and Progress Over 4–12 Weeks
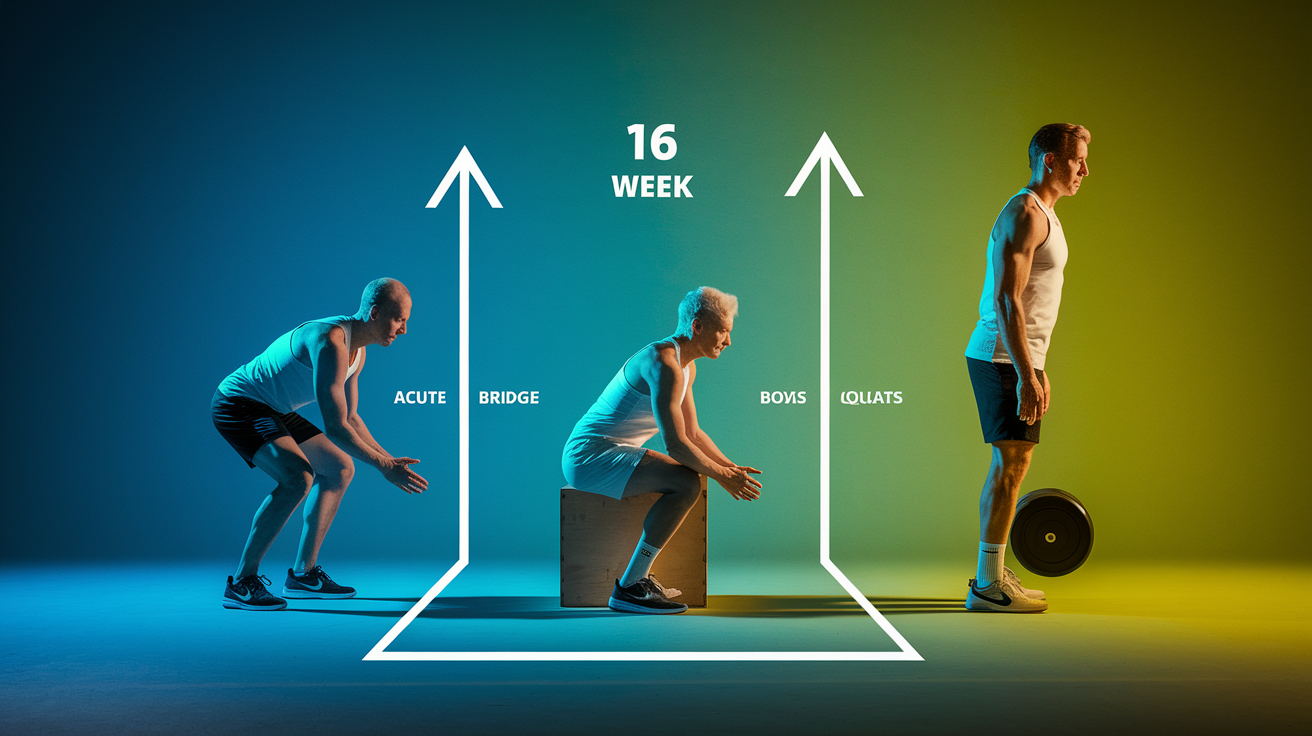
Programming substitutions correctly means more than just swapping one exercise for another. You need a structured timeline that respects tissue healing, gradually reintroduces load, and tracks your response to each progression step. The safest framework divides recovery into three phases: acute pain control and mobility restoration in weeks 0–2, light loading and movement retraining in weeks 2–6, and progressive loading with a return to higher-intensity work in weeks 6–12. Each phase has specific goals for volume, intensity, and exercise selection, and moving too quickly from one phase to the next is the most common reason people re-aggravate an injury.
During the first two weeks after an injury or flare-up, the priority is pain control, gentle mobility, and isometric exercises that load the muscle without moving the joint. Examples include glute bridges held for 10–20 seconds, wall sits, and isometric shoulder holds in a pain-free range. Avoid any movement that increases pain above 3 out of 10 or causes sharp, shooting sensations.
In weeks 2–6, begin light loading with 2 sessions per week, using substitutions that let you complete 2 sets of 8–12 reps without pain rising during or after the workout. This is the phase where you reintroduce movement patterns like squats, hinges, presses, and rows, but with reduced range of motion, lighter weights, and external support as needed. Box squats to a high box, floor presses instead of full bench press, or trap-bar deadlifts instead of conventional deadlifts. Track your pain score for each exercise and only increase load by 5–10% per week if you stay below 3 out of 10 throughout the session and don’t experience increased soreness the following day.
Weeks 6–12 are where you begin to challenge the healing tissue with higher loads, longer ranges of motion, and more complex movement patterns. Increase training frequency to 3–4 sessions per week if tolerated, and progress from 2 sets to 3–4 sets per exercise. Add 5–10% load each week as long as form stays clean and pain stays low. For endurance-focused training or lighter conditioning, use sets of 12–20+ reps with moderate resistance. Once you can perform the substitution exercise for 3 sets of 12 reps with zero pain and full control, test the original movement at a light load. If it feels good, reintroduce it gradually, keeping it as one of several exercises in your program rather than immediately returning to pre-injury volume.
Five-step substitution and progression checklist:
Identify the painful movement and select a substitute that reduces load, shortens ROM, or changes the angle of stress.
Begin with low-load sets of 8–12 reps, using a weight or resistance level that feels easy and allows perfect form.
Track pain using a 0–10 scale during and after each session. Stop or regress if pain rises above 3/10 or increases by 2+ points.
Increase load by 5–10% per week only if you complete all sets pain-free and don’t experience delayed soreness lasting more than 48 hours.
Return to the original exercise after 2–3 consecutive pain-free weeks on the substitution, starting at 50–60% of your pre-injury load and building back slowly.
Pain Monitoring, Red Flags and When to Seek Clinical Support

Not all pain signals the same problem, and knowing the difference between expected training discomfort and a true red flag can prevent a minor issue from becoming a long-term limitation. Dull, achy soreness that appears 24–48 hours after a workout and gradually improves over a few days is normal delayed-onset muscle soreness and doesn’t require you to stop training. Sharp, shooting, or burning pain that appears suddenly during a movement, or pain that worsens with repeated attempts, is a sign that the tissue is being overloaded and needs immediate modification or rest.
Use the 0–10 pain scale as your decision-making tool. If pain stays at 0–2 during and after an exercise, continue. If it climbs to 3–4, reduce load, shorten range of motion, or try a different variation. If it reaches 5 or higher, stop the exercise entirely and choose a completely different movement or rest for the day.
Certain symptoms are red flags that indicate you should stop training and seek evaluation from a physical therapist, sports medicine physician, or orthopedic specialist as soon as possible. These include sharp or electric pain that radiates down an arm or leg, new numbness or tingling in your hands or feet, progressive motor weakness where you lose strength in a muscle group over hours or days, swelling that increases or doesn’t respond to rest and ice, fever or systemic symptoms like unexplained fatigue or night sweats, and pain that exceeds 4 out of 10 during rest or worsens despite modifying your training. If any of these occur, don’t attempt to train through them or wait weeks to see if they resolve on their own.
Red-flag symptoms that require clinical evaluation:
Sharp or shooting pain that radiates beyond the original injury site.
Numbness or tingling in your hands, feet, arms, or legs.
Motor weakness or difficulty activating a muscle group.
Swelling that worsens or doesn’t improve with rest and elevation.
Fever, chills, or unexplained systemic symptoms.
Pain exceeding 4 out of 10 at rest, or pain that rises by 2+ points during modified exercise.
Final Words
Use the 0–10 pain scale and the six quick rules to swap movements fast. If pain rises by more than 2 points or hits 3–4/10, stop or regress.
This post gave swaps for knees, hips, ankles, shoulders and back, low‑impact cardio, senior and pregnancy options, equipment fixes, and a 4–12 week progression plan.
Track pain and watch red flags like numbness, weakness, or swelling. When unsure, seek clinical advice.
Use this quick‑start playbook for exercise substitutions for common injuries and limitations. Small, smart tweaks keep you training and moving forward.
FAQ
Q: What is the 3-3-3 rule for exercising?
A: The 3-3-3 rule for exercising is a simple beginner framework: three weekly sessions, three main moves per session, and three working sets per move to keep progress clear and manageable.
Q: What are the best exercises for injury prevention? What are some alternative exercises?
A: The best exercises for injury prevention are movement-control basics—single-leg balance, hip hinges, glute bridges, and banded rows; alternatives include pool walking, recumbent cycling, machine or band versions, and reduced range-of-motion options.
Q: What exercises help lower A1C?
A: Exercises that help lower A1C are regular aerobic activity (30–45 minutes, 3–5×/week) plus resistance training 2–3×/week; combining both improves insulin sensitivity and lowers average blood glucose.